2002 Aliner Classic Remodel
I have been looking forward to remodeling my 2002 Aliner Classic since I purchased it late last year. I learned a lot from my previous Tiny Camper remodel, and I was excited to take on a (slightly) bigger challenge. In my first remodel, I played it safe with color, sticking to a monochromatic color scheme that my wife jokingly called “grey on grey on grey.” For my Aliner remodel, I wanted to branch out a bit with some bold color choices, but I also wanted to keep some of the elements I really liked from my first camper remodel project (and yes some of those elements are grey).
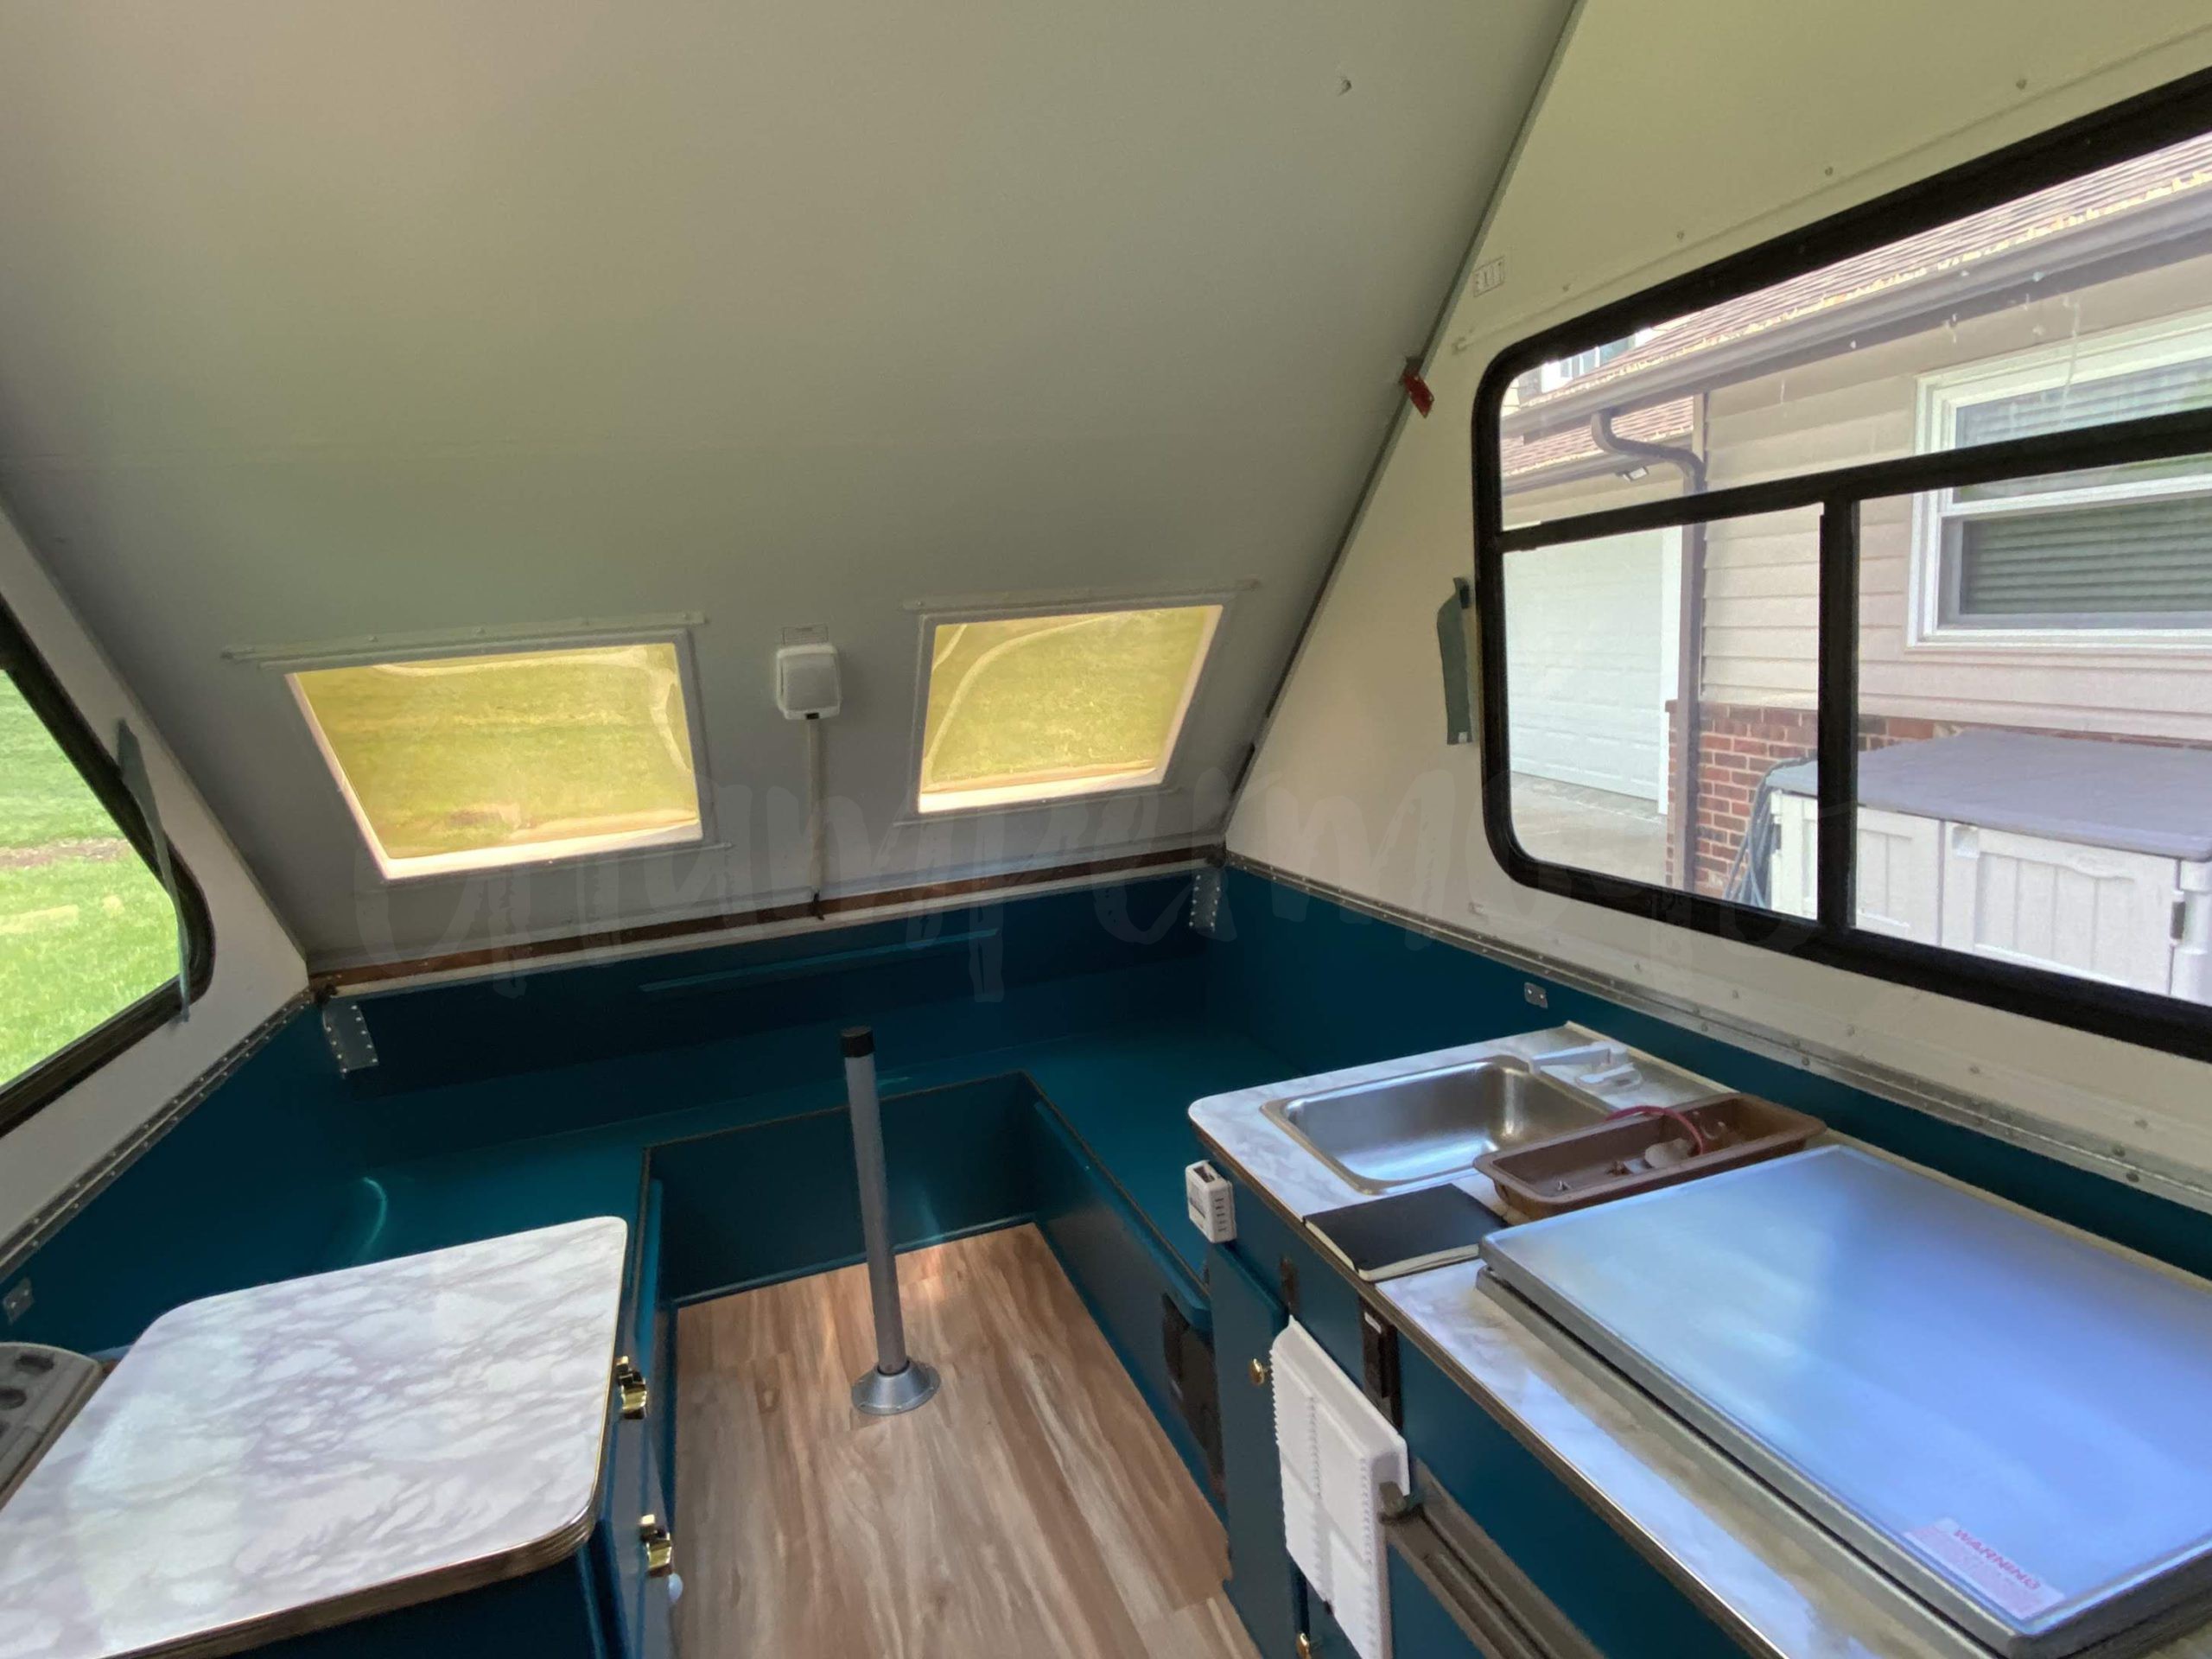
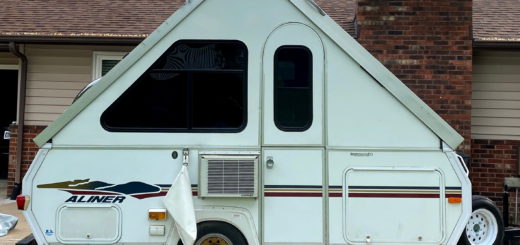
The Before
I am kicking myself for not taking more “before” pictures other than some quick shots I took when I was first looking to purchase. Overall, the Aliner was in OK-ish shape. It had a bit of a musk to the interior, and it was obvious that the cushions would need to be replaced. Many of the curtains had holes and stains, so I knew I would be replacing those as well. I originally did not think I would paint over the wood veneer paneling, but I have made the mistake of under scoping my remodels before.
As I started opening cabinets and clearing out the interior in preparation of the remodel, it was clear that the Aliner had at one point had some wildlife living in it, likely some mice based on droppings and judging by the chewed acorns scattered around, maybe a squirrel or two. The battery box under one of the dinette benches had not been secured, and I am guessing animals used the open vent for the battery as a portal to the interior. Other obvious things I noticed that would need to be addressed were a broken kitchen faucet and a peeling vent cover for the heater.
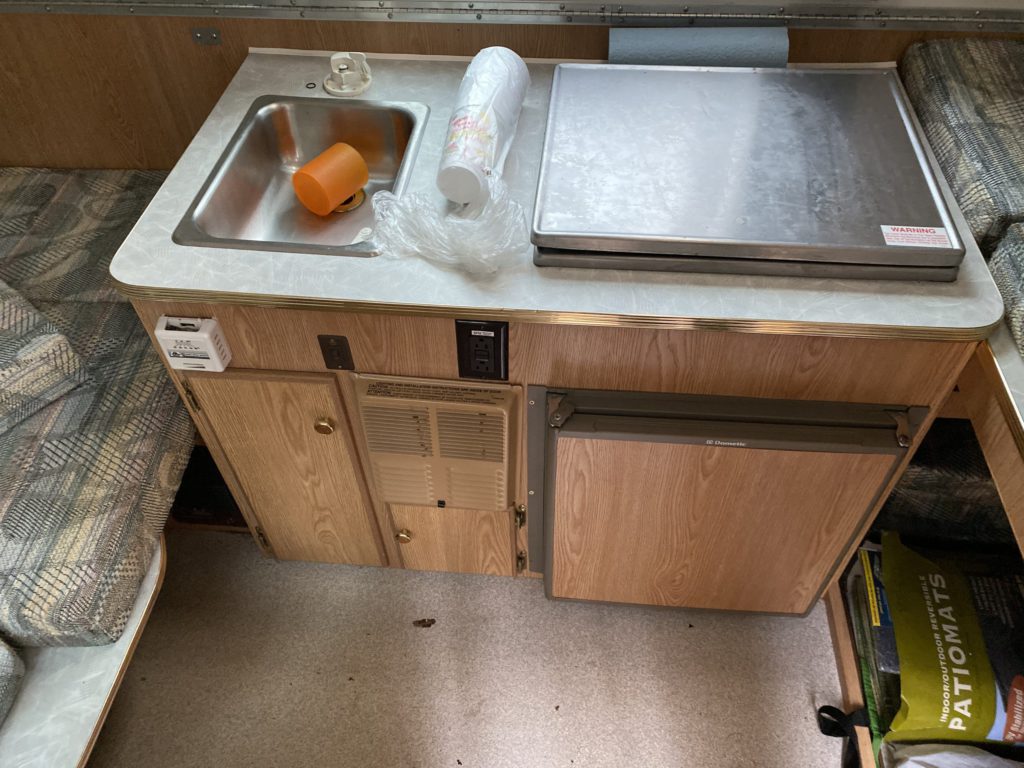
Kitchen 
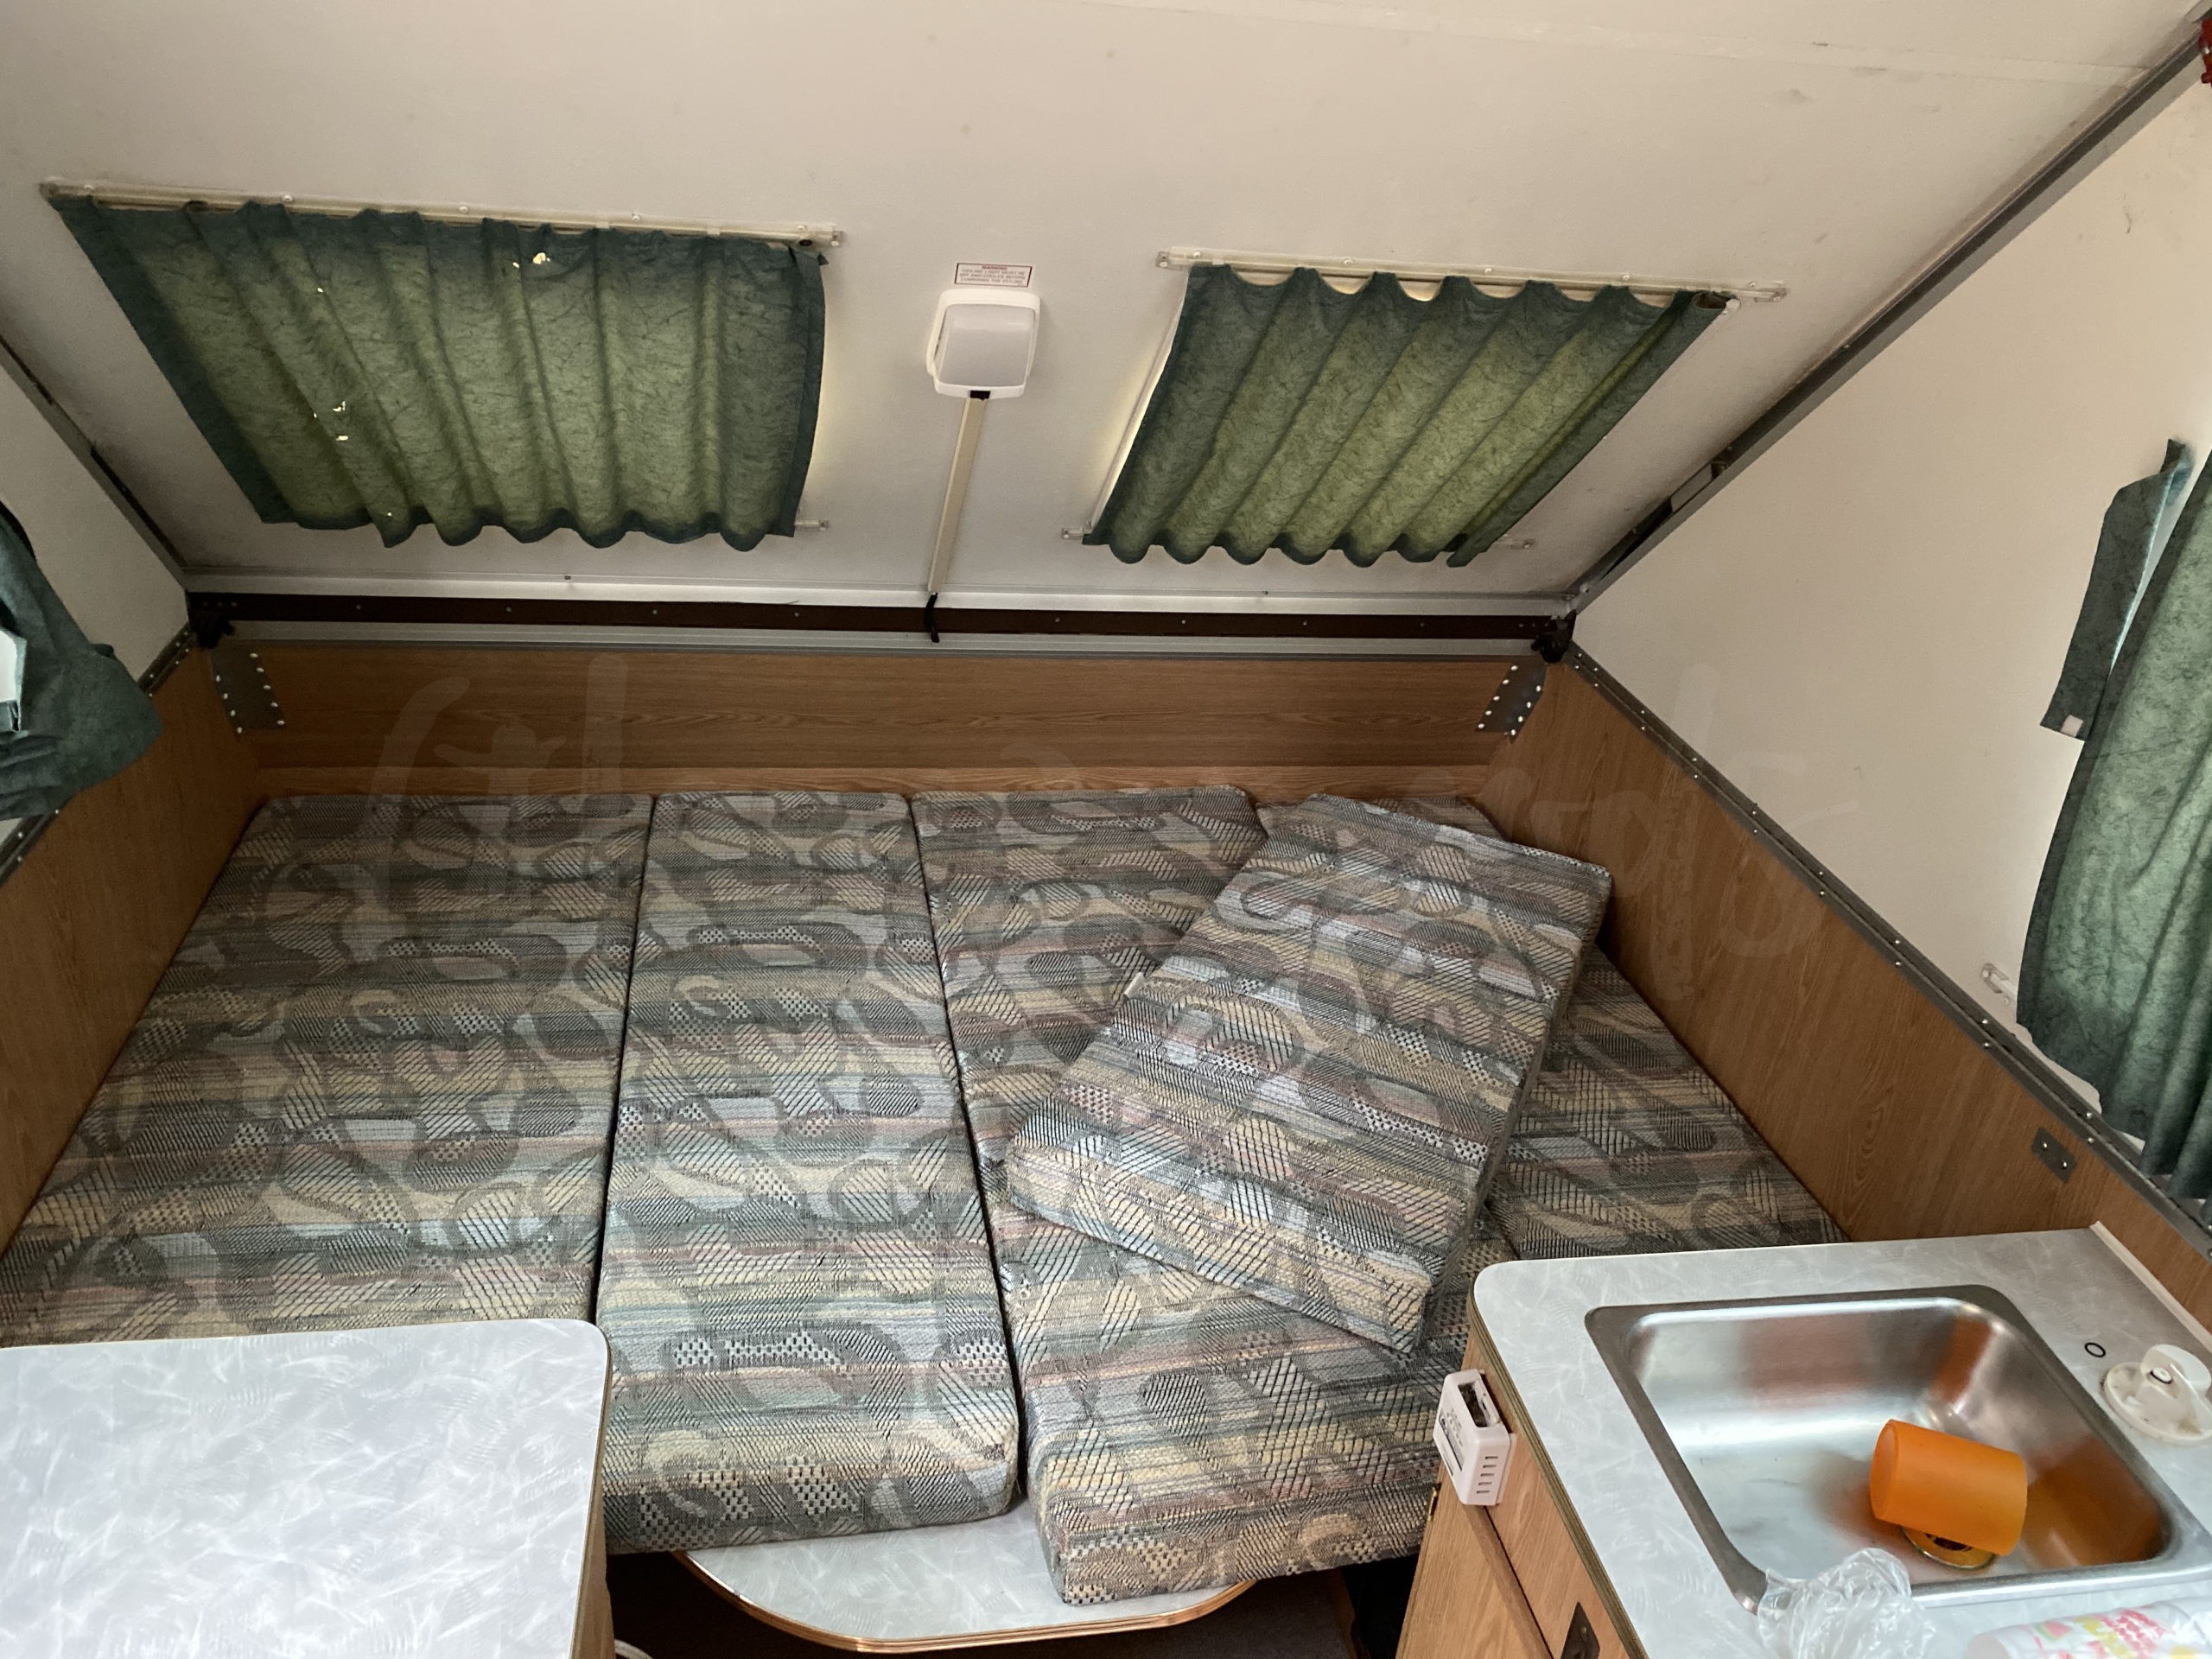
Dinette/Main bed 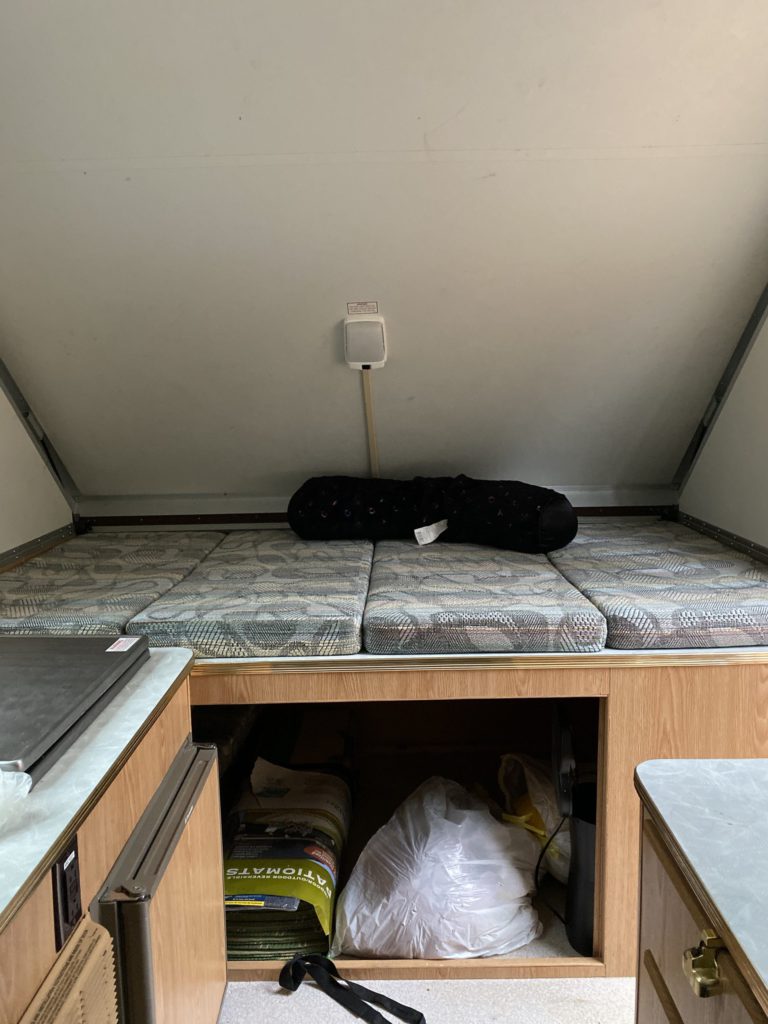
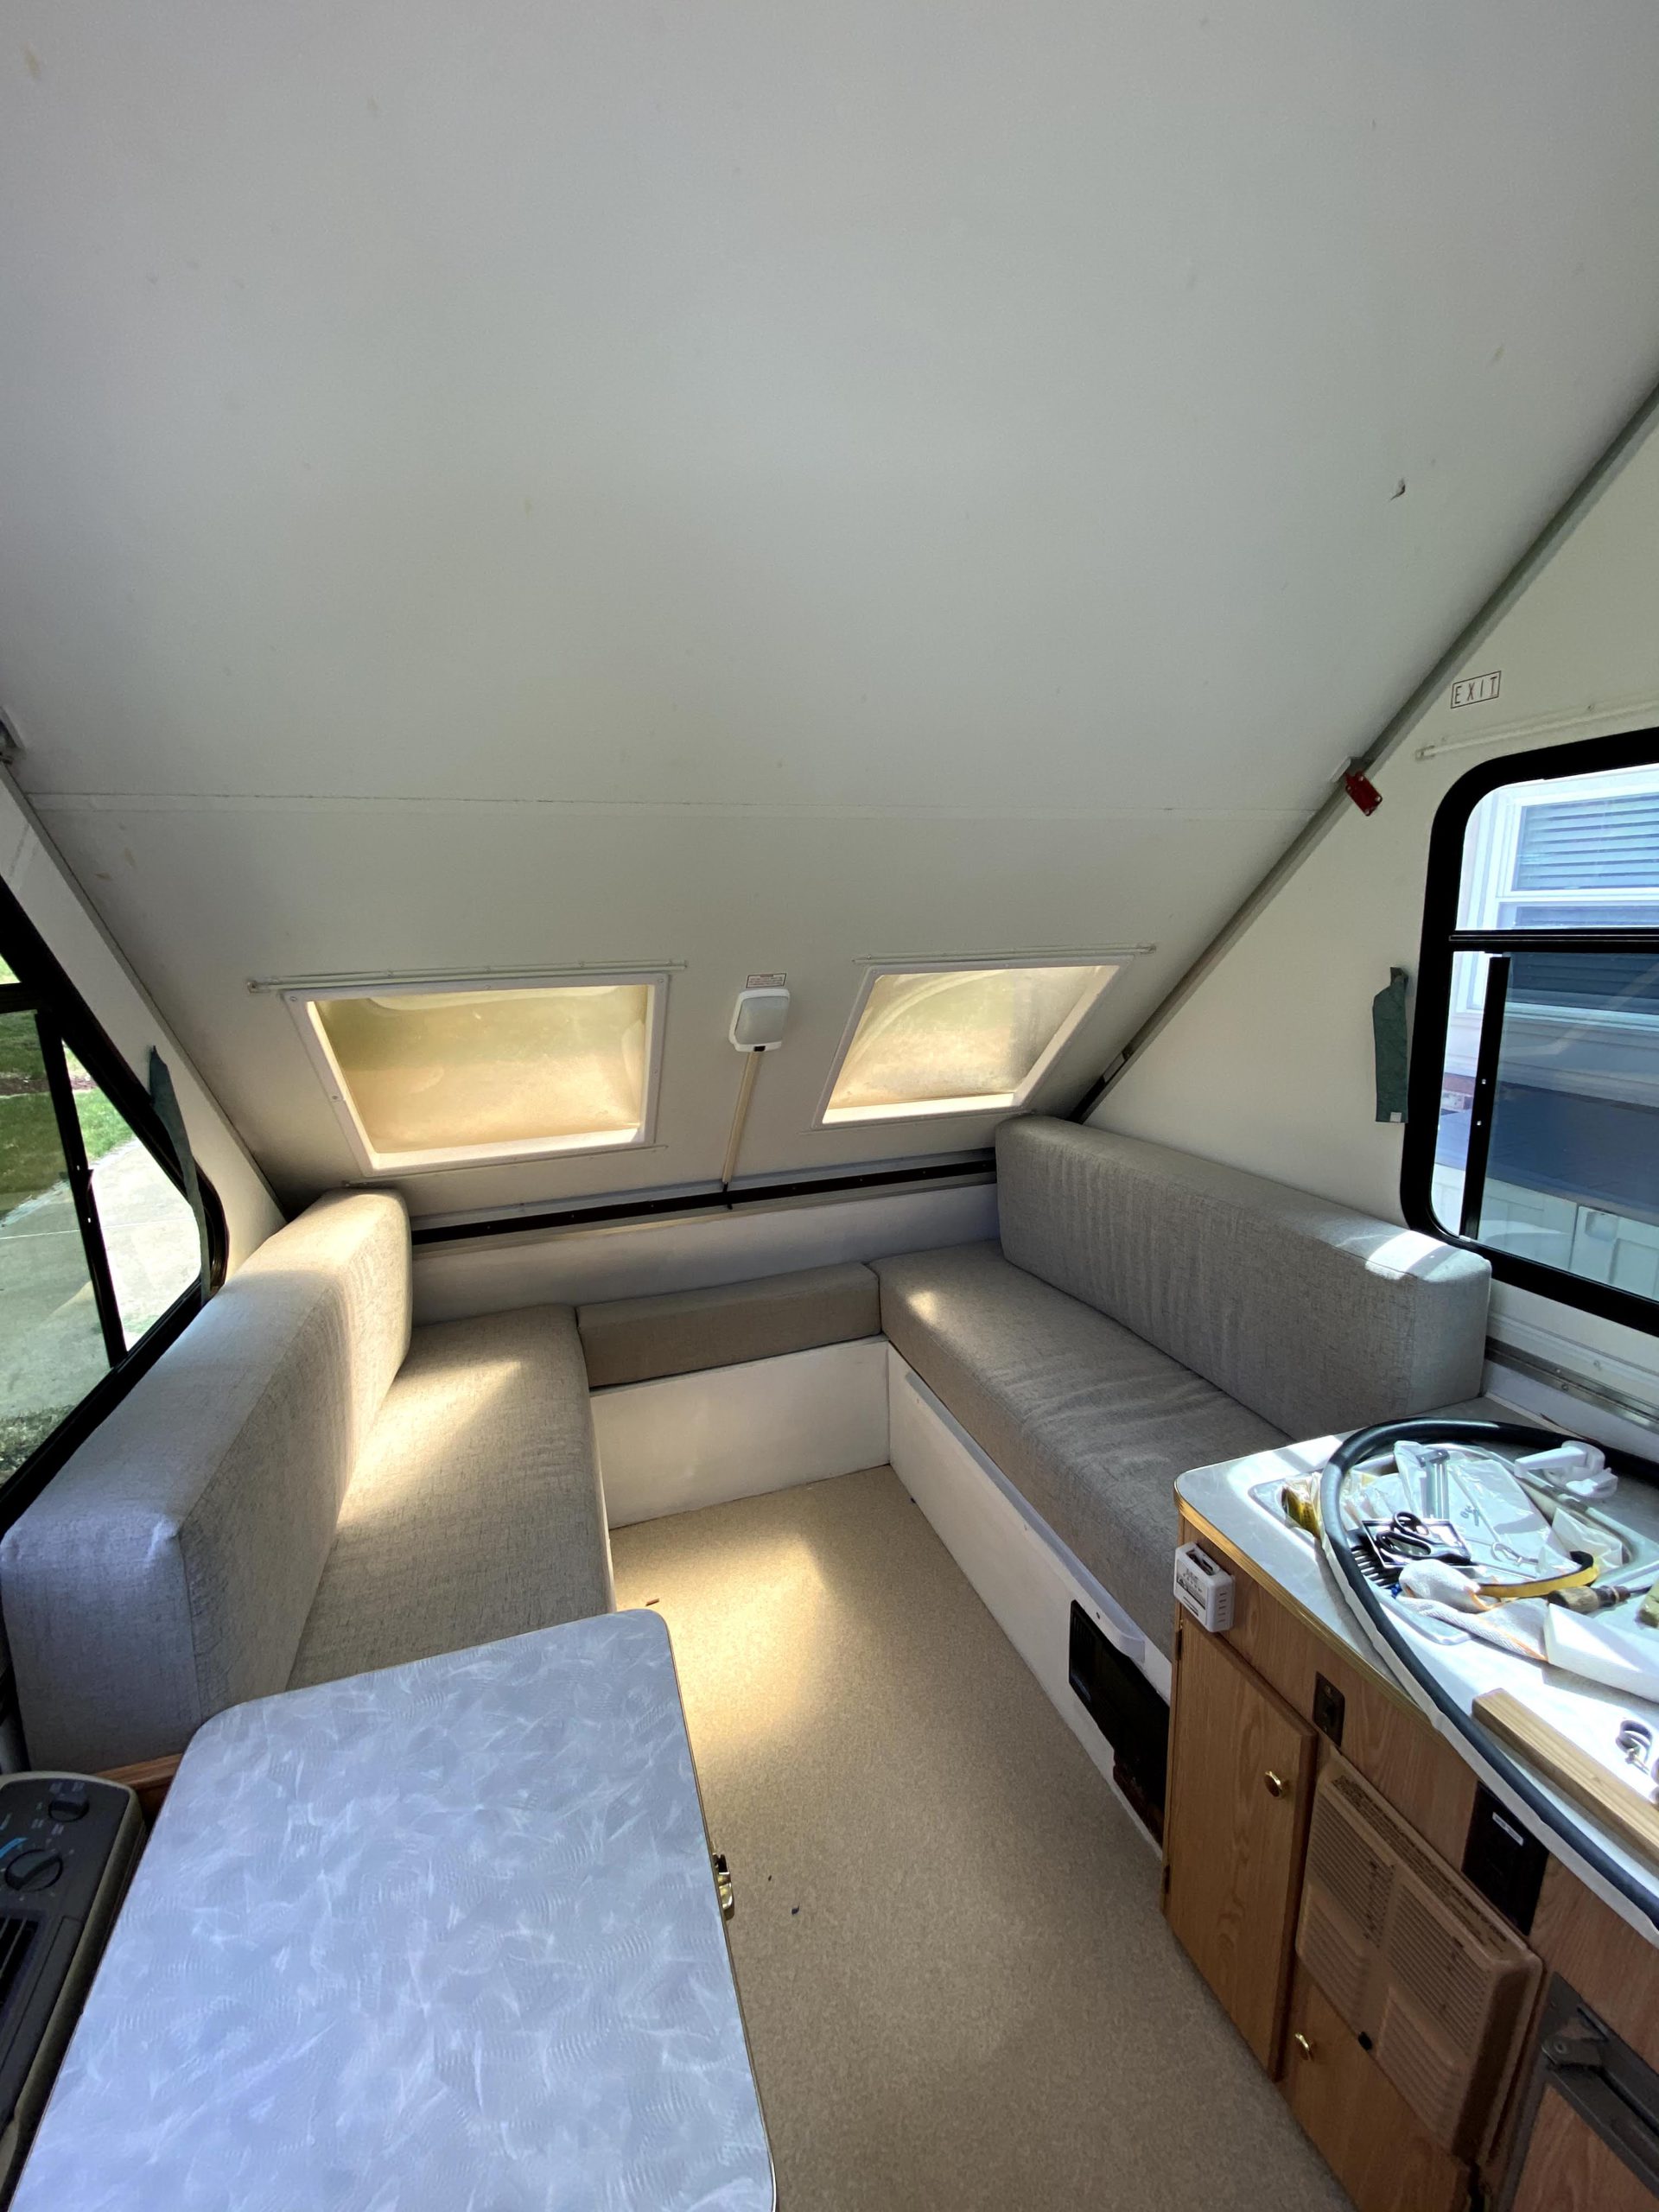
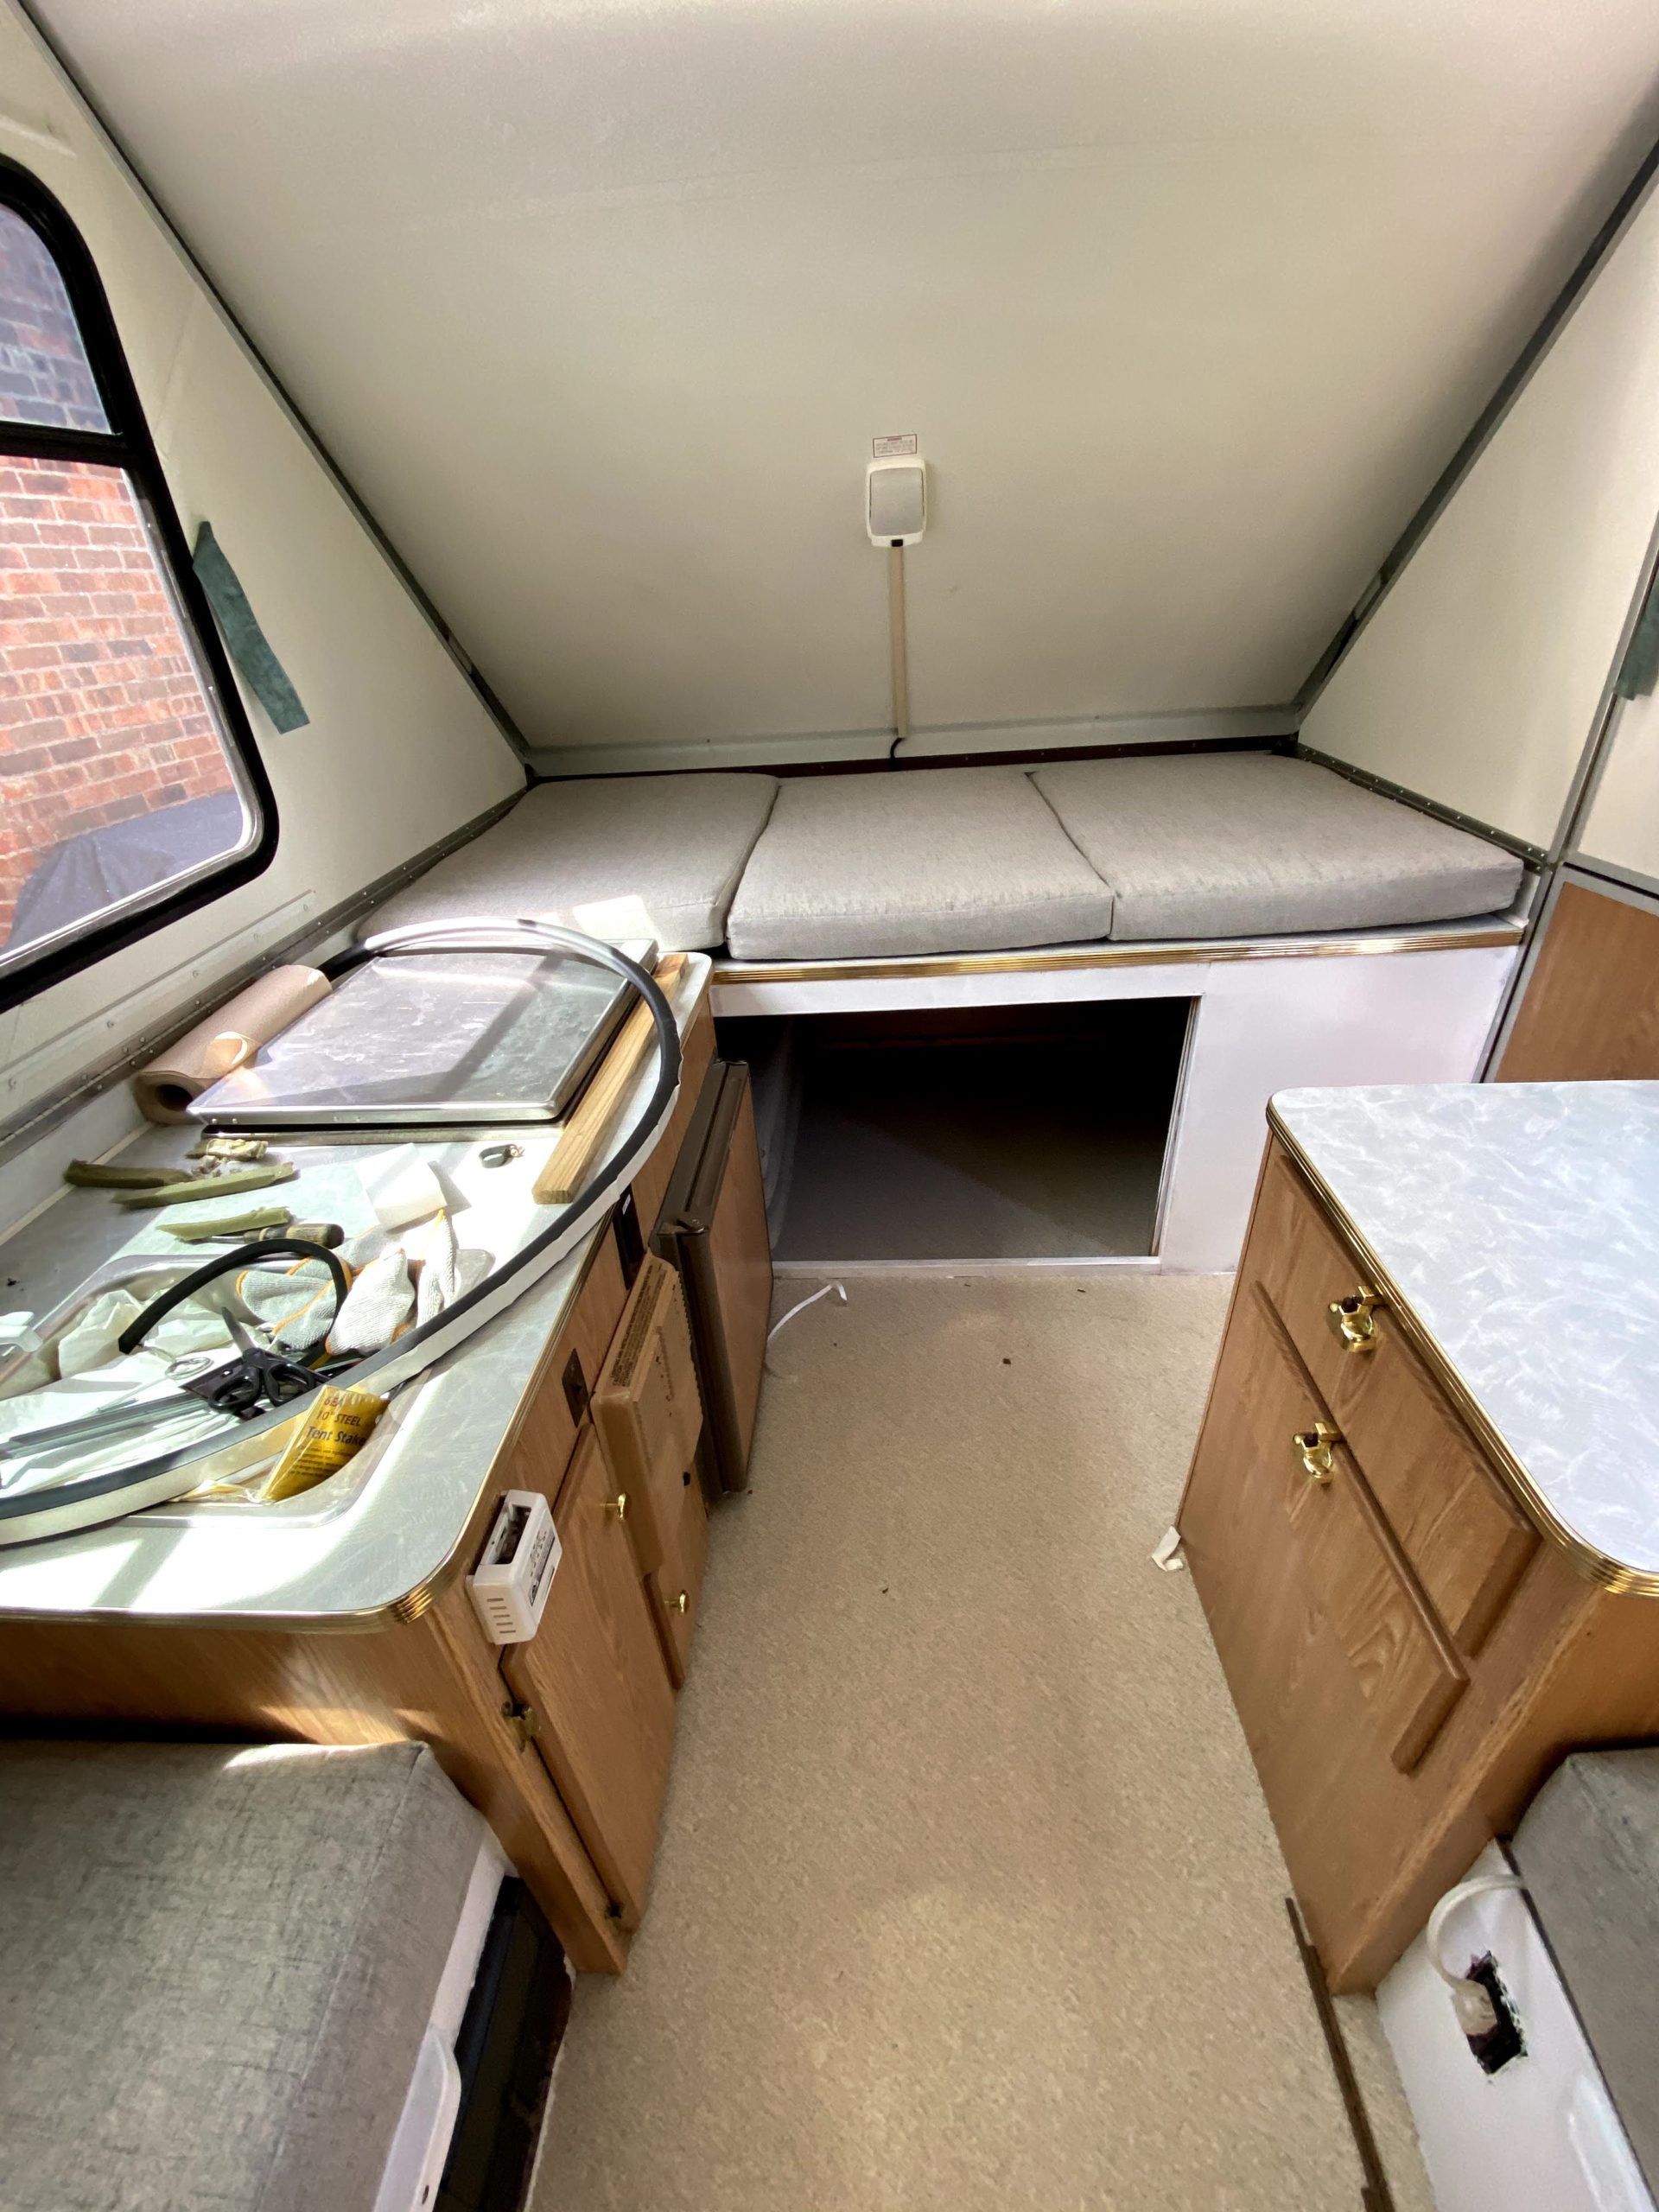
Bunk area 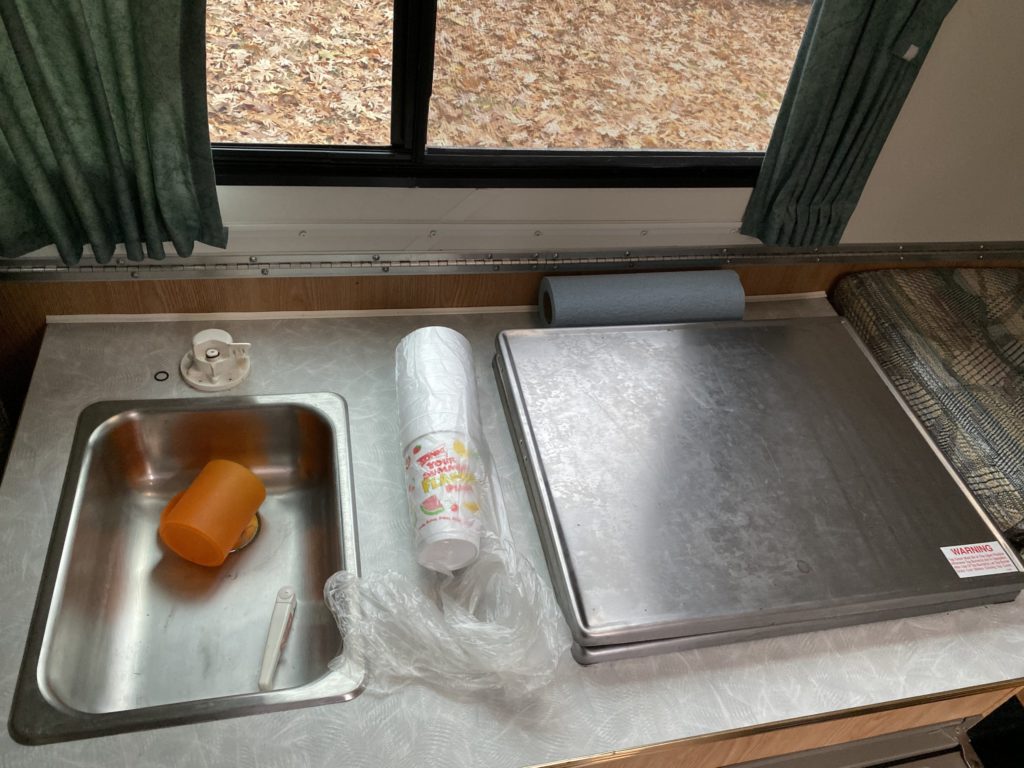
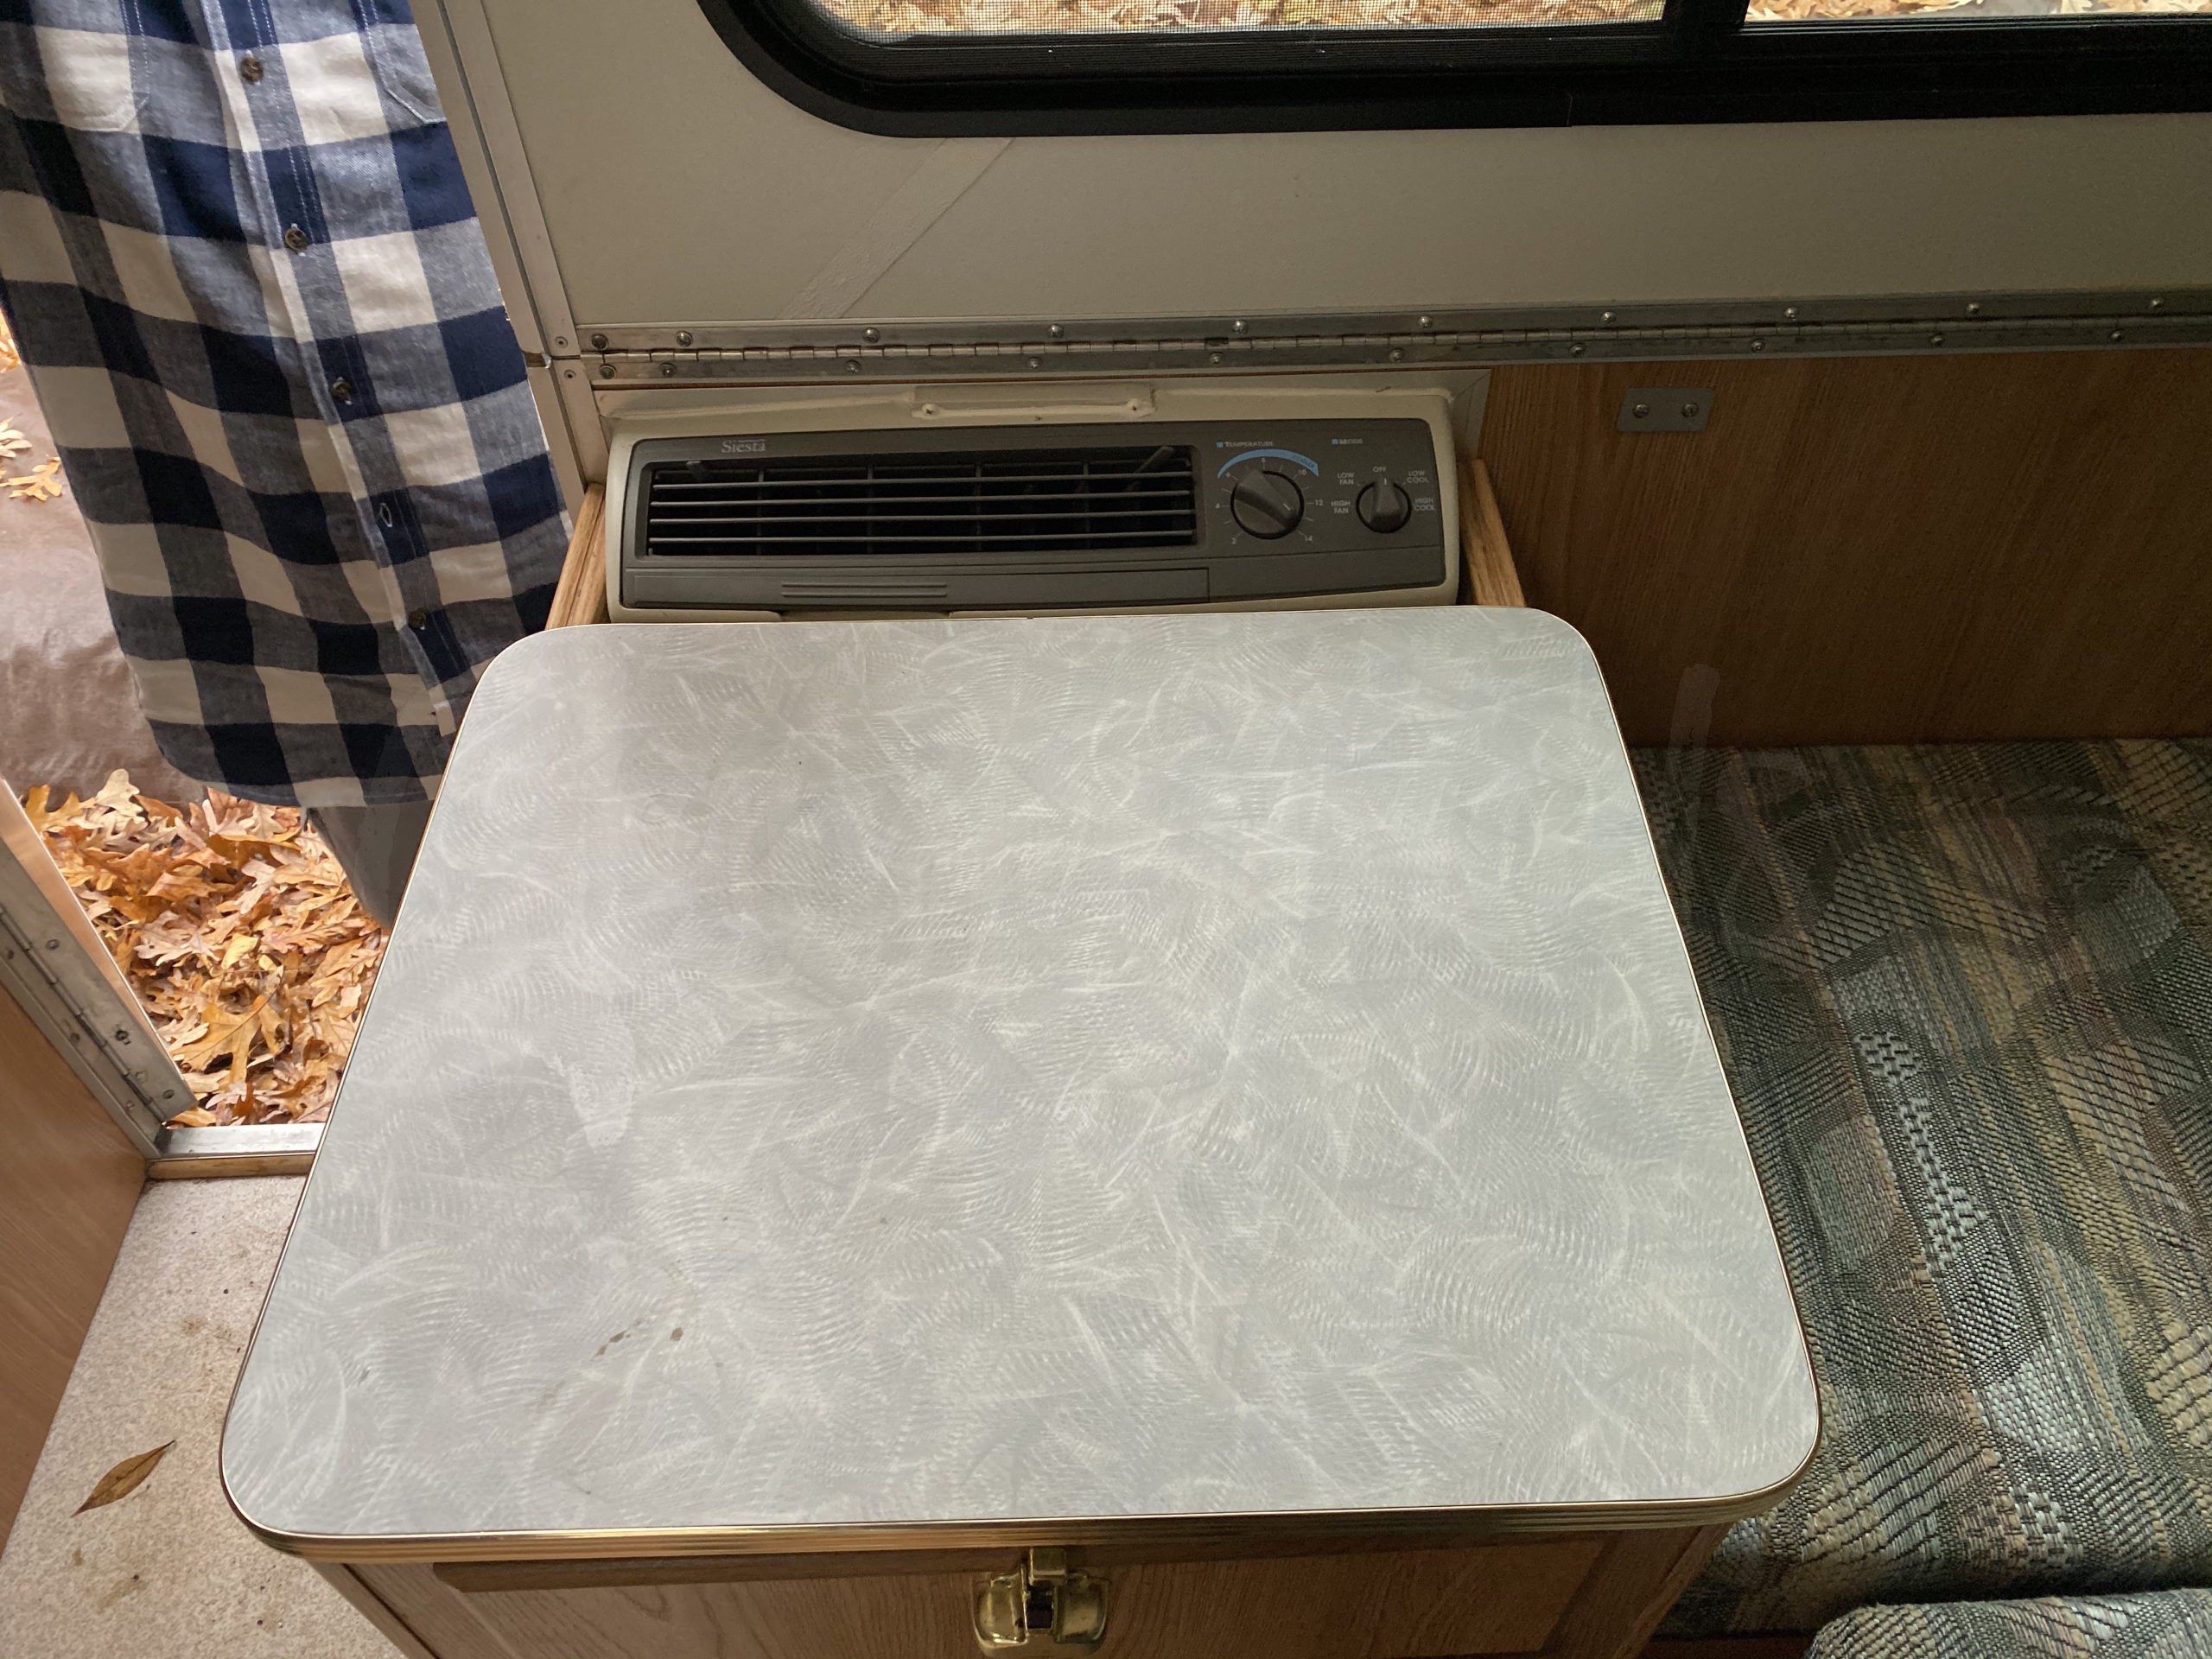
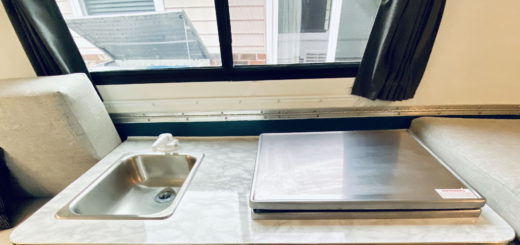
Kitchen counter 
Drawer cabinet


Early Mockup
I built a model of my Aliner in Sketchup and started playing around with color ideas for the cabinets. I originally planned on doing navy blue for the cabinets and white for all other wood paneled areas. After experimenting with some different blue colors I decided I wanted to go with a more teal color and paint all wood paneling so that the color would extend throughout the camper.

Primer
Similar to my last camper remodel, I started by sanding the veneer wood panels with 120 sand paper before applying Kilz Primer to all surfaces to help prevent mold and mildew caused by moisture.

Cushions
In my first tiny camper remodel, I made the cushions by cutting high density foam to size and then covered them with custom cushion covers from Cushions Xpress. After crunching some numbers, I found that I wouldn’t be saving a whole lot of money by doing the same with the Aliner cushions, and instead opted to have the cushions custom made entirely by Cushions Xpress. The main bed cushions are 5 inches of medium density foam with 1 inch of memory foam on top, while the bunk cushions are 2 inches of high density foam with 1 inch of memory foam on top. In order to pay homage to my first camper remodel, I even decided to use the same Lino Grey fabric.

Test fit for the main bed cusions. 
Test fit for the bunk cushions
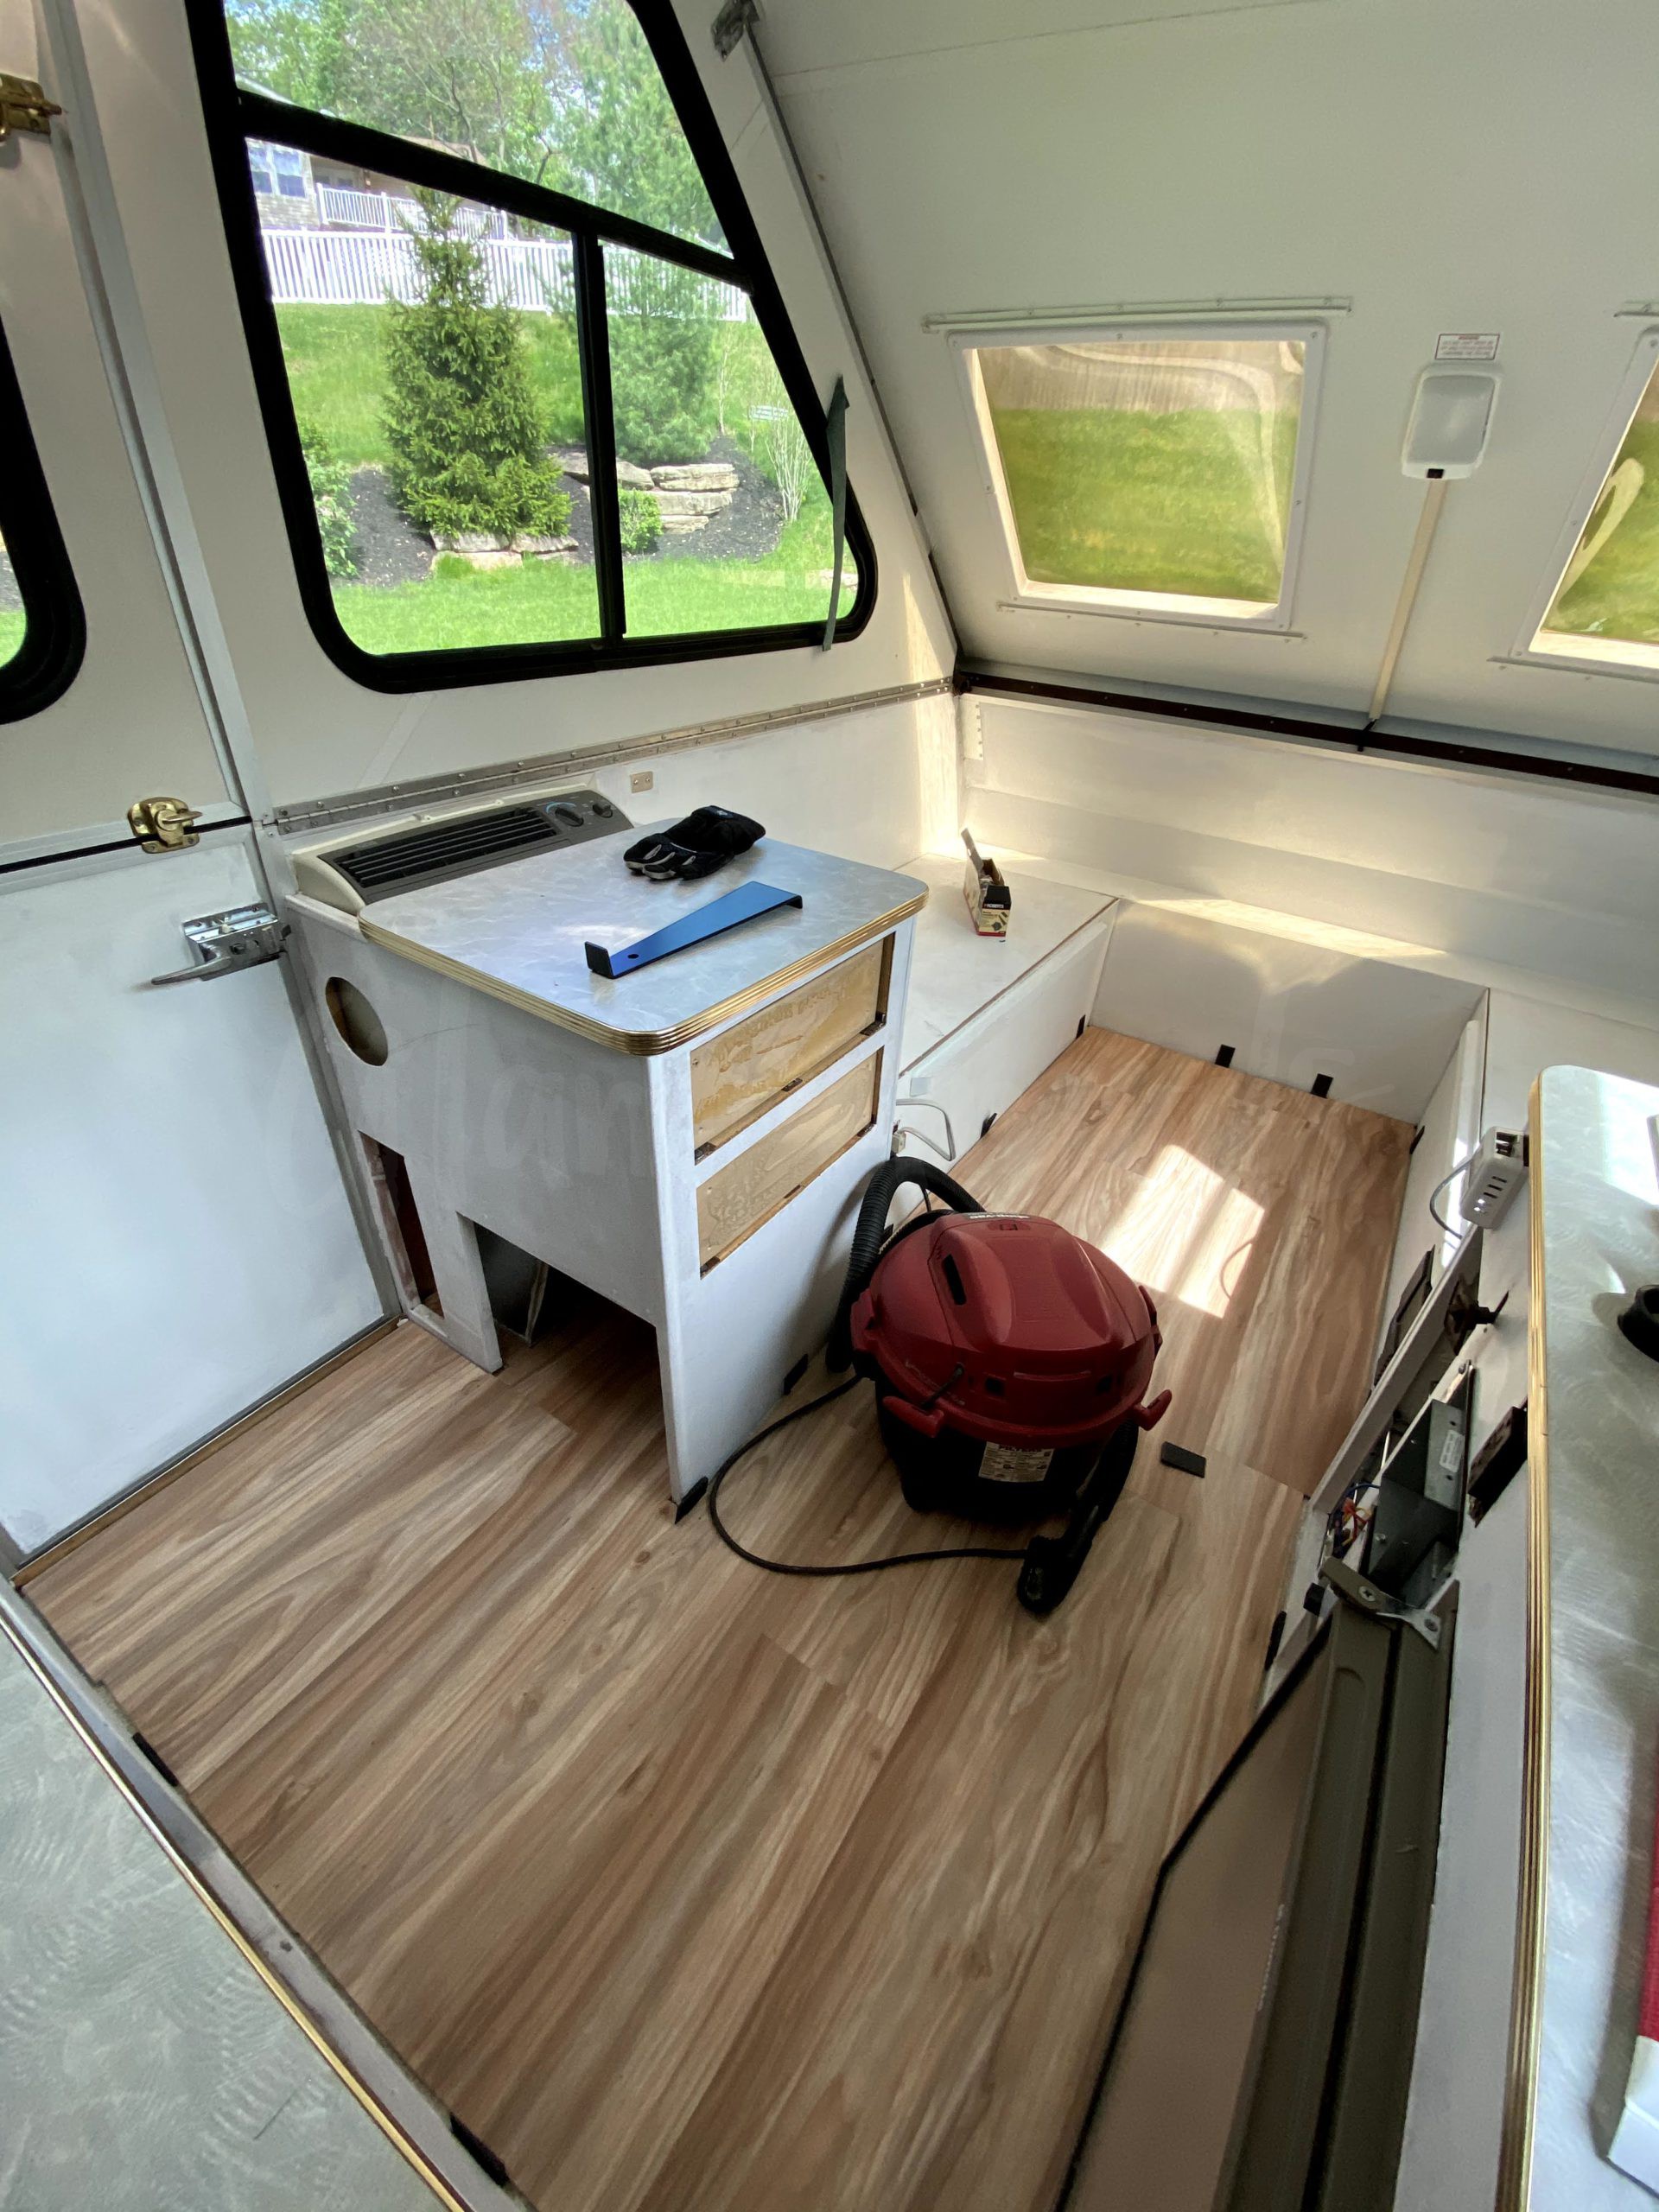
Flooring
In a previous tiny camper remodel, I used peel and stick vinyl flooring but struggled to keep the planks stuck to the floor, especially in extreme heat and direct sunlight. This time I decided instead to do a floating luxury vinyl plank flooring I purchased from Home Depot. Fun fact, I was shipped a different color flooring than I purchased but ended up liking the flooring that was sent better than what I ordered, so I decided to keep it. The flooring is Lifeproof Luxury Rigid Vinyl Plank Flooring in the Mangrove Forest/Blonde Acacia color. The flooring is installed like a typical floating, click together flooring. I installed with a 1/4 inch expansion gap to allow expansion and contraction of the flooring.
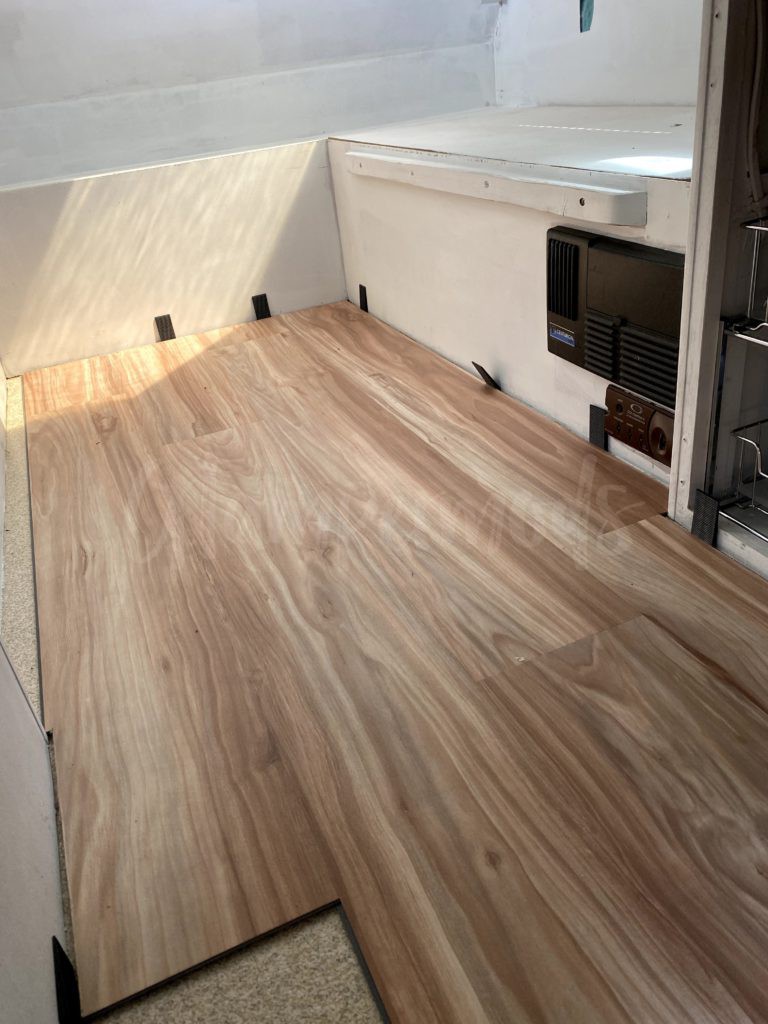
Flooring install in progress 
Flooring installed

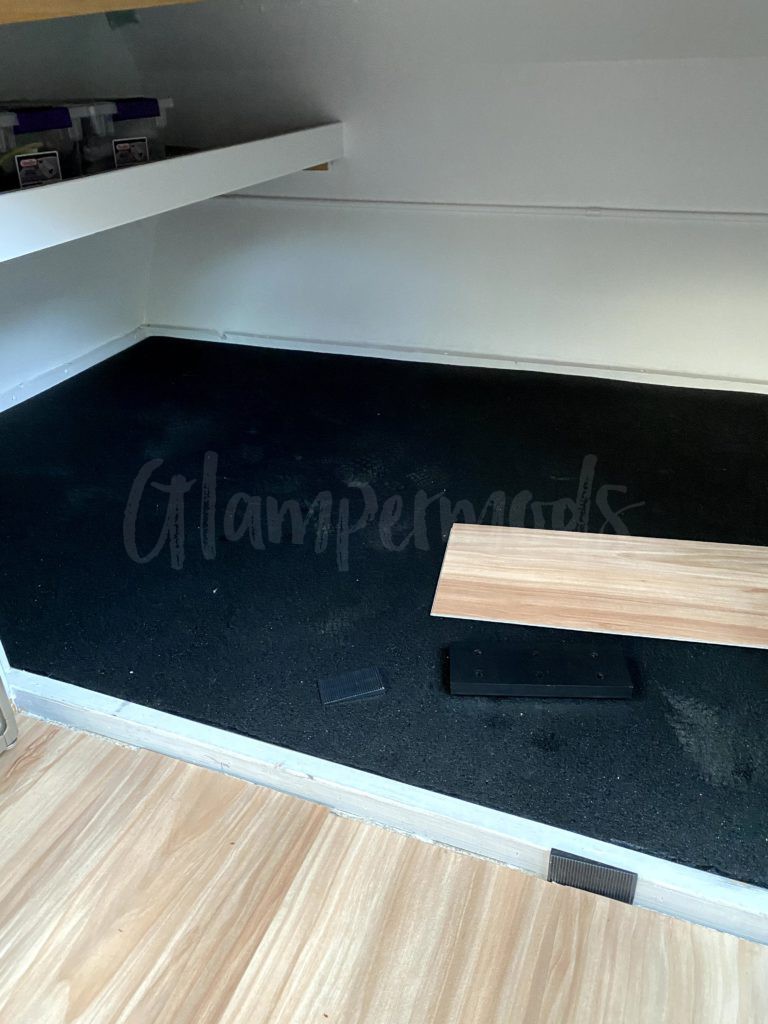
I was originally going to extend the flooring in the main cabin to the bottom bunk area as well, but since I was going to be using the bottom bunk primarily for storage most of the time, I wanted something the would hold up better to cargo being pulled in and out. I decided on a rubber flooring option from Greatmats. I also painted the bunk area white to be able to see into the storage space, and maybe make it a little less claustrophobic if anyone sleeps in there. The rubber mat came in a big roll and was fairly easy to cut to size with a razor knife. It is worth noting that objects do not slide very easily on the rubber mat. I considered this a plus to prevent cargo from shifting during transit, but it may prove to be a pain for loading/unloading. If I could do over again, I would have chosen one of the color options that has flecks or speckles of color instead of the all black mat because it has a tendency to show dust and dirt.
Countertops
I resurfaced the counter tops with an adhesive marble cover from EZ Faux Decor. I go into more detail about the process in a separate blog post I did exclusively for the counter tops.

kitchen counter 
drawer cabinet 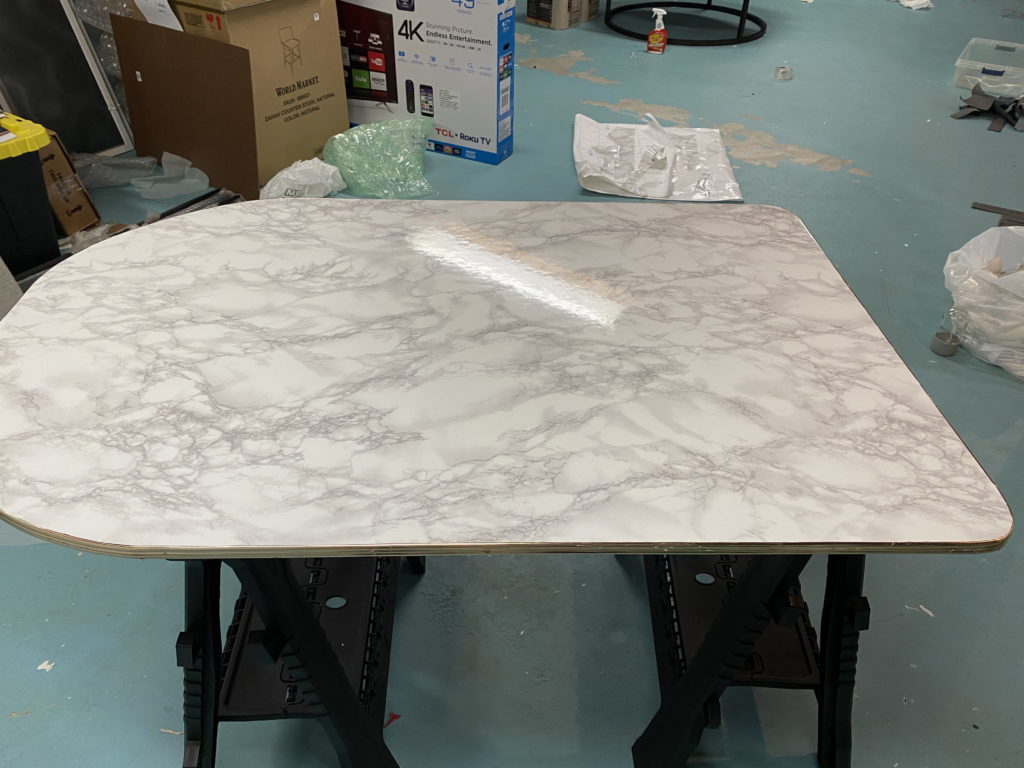
Dinette table top


Curtains
After getting some outrageous quotes to have someone sew new curtains, I decided to sew them myself. Prior to this project the only sewing experience I had was from a home economics class I took back in middle school. Thankfully with YouTube at my disposal, I had adequate resources to learn.
I chose Sunbrella fabric for the curtains in the Silica Grey color. I like that Sunbrella fabric is intended for outdoor applications, and I figured it would be able to better withstand extreme temperatures when in storage. It was also a very thick fabric that blocks out light well. My biggest issue with the fabric was how stiff it was. I broke probably 4 needles during the course of my sewing adventures.

Paint
Trying to decide on and purchase paint during a global pandemic was difficult! Typically I would plan on spending an hour or so at the paint department of my local hardware store, but that wasn’t an option when I was needing paint for my remodel. I ended up going with Behr Marquee paint in their “Tsunami” color. I am thrilled with how this color turned out, and I think the pictures hardly do it justice. Its a deep, rich blue color with hints of green and changes color slightly depending on how the light hits it.

A note on paint: If I could do over again I am not sure I would use a latex paint for the camper interior. It looks great, but it scars so easily if you accidentally bump it with something heavy or sharp (easy to do when lifting access panels or moving around a dinette table top). I think something with a harder enamel might hold up a little better to the wear and tear that you are bound to get in such a small space.
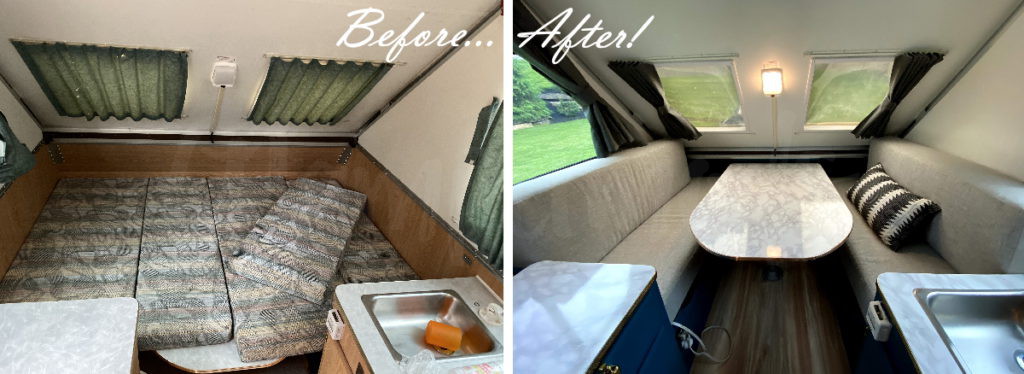
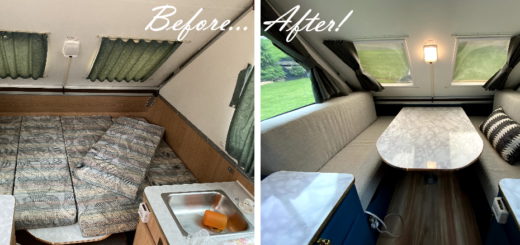
The After
I am so happy with the final result. This remodel was a lot of fun, and I can’t wait to go glamping!

View from the top bunk 
Bunk area 
Storage Drawer 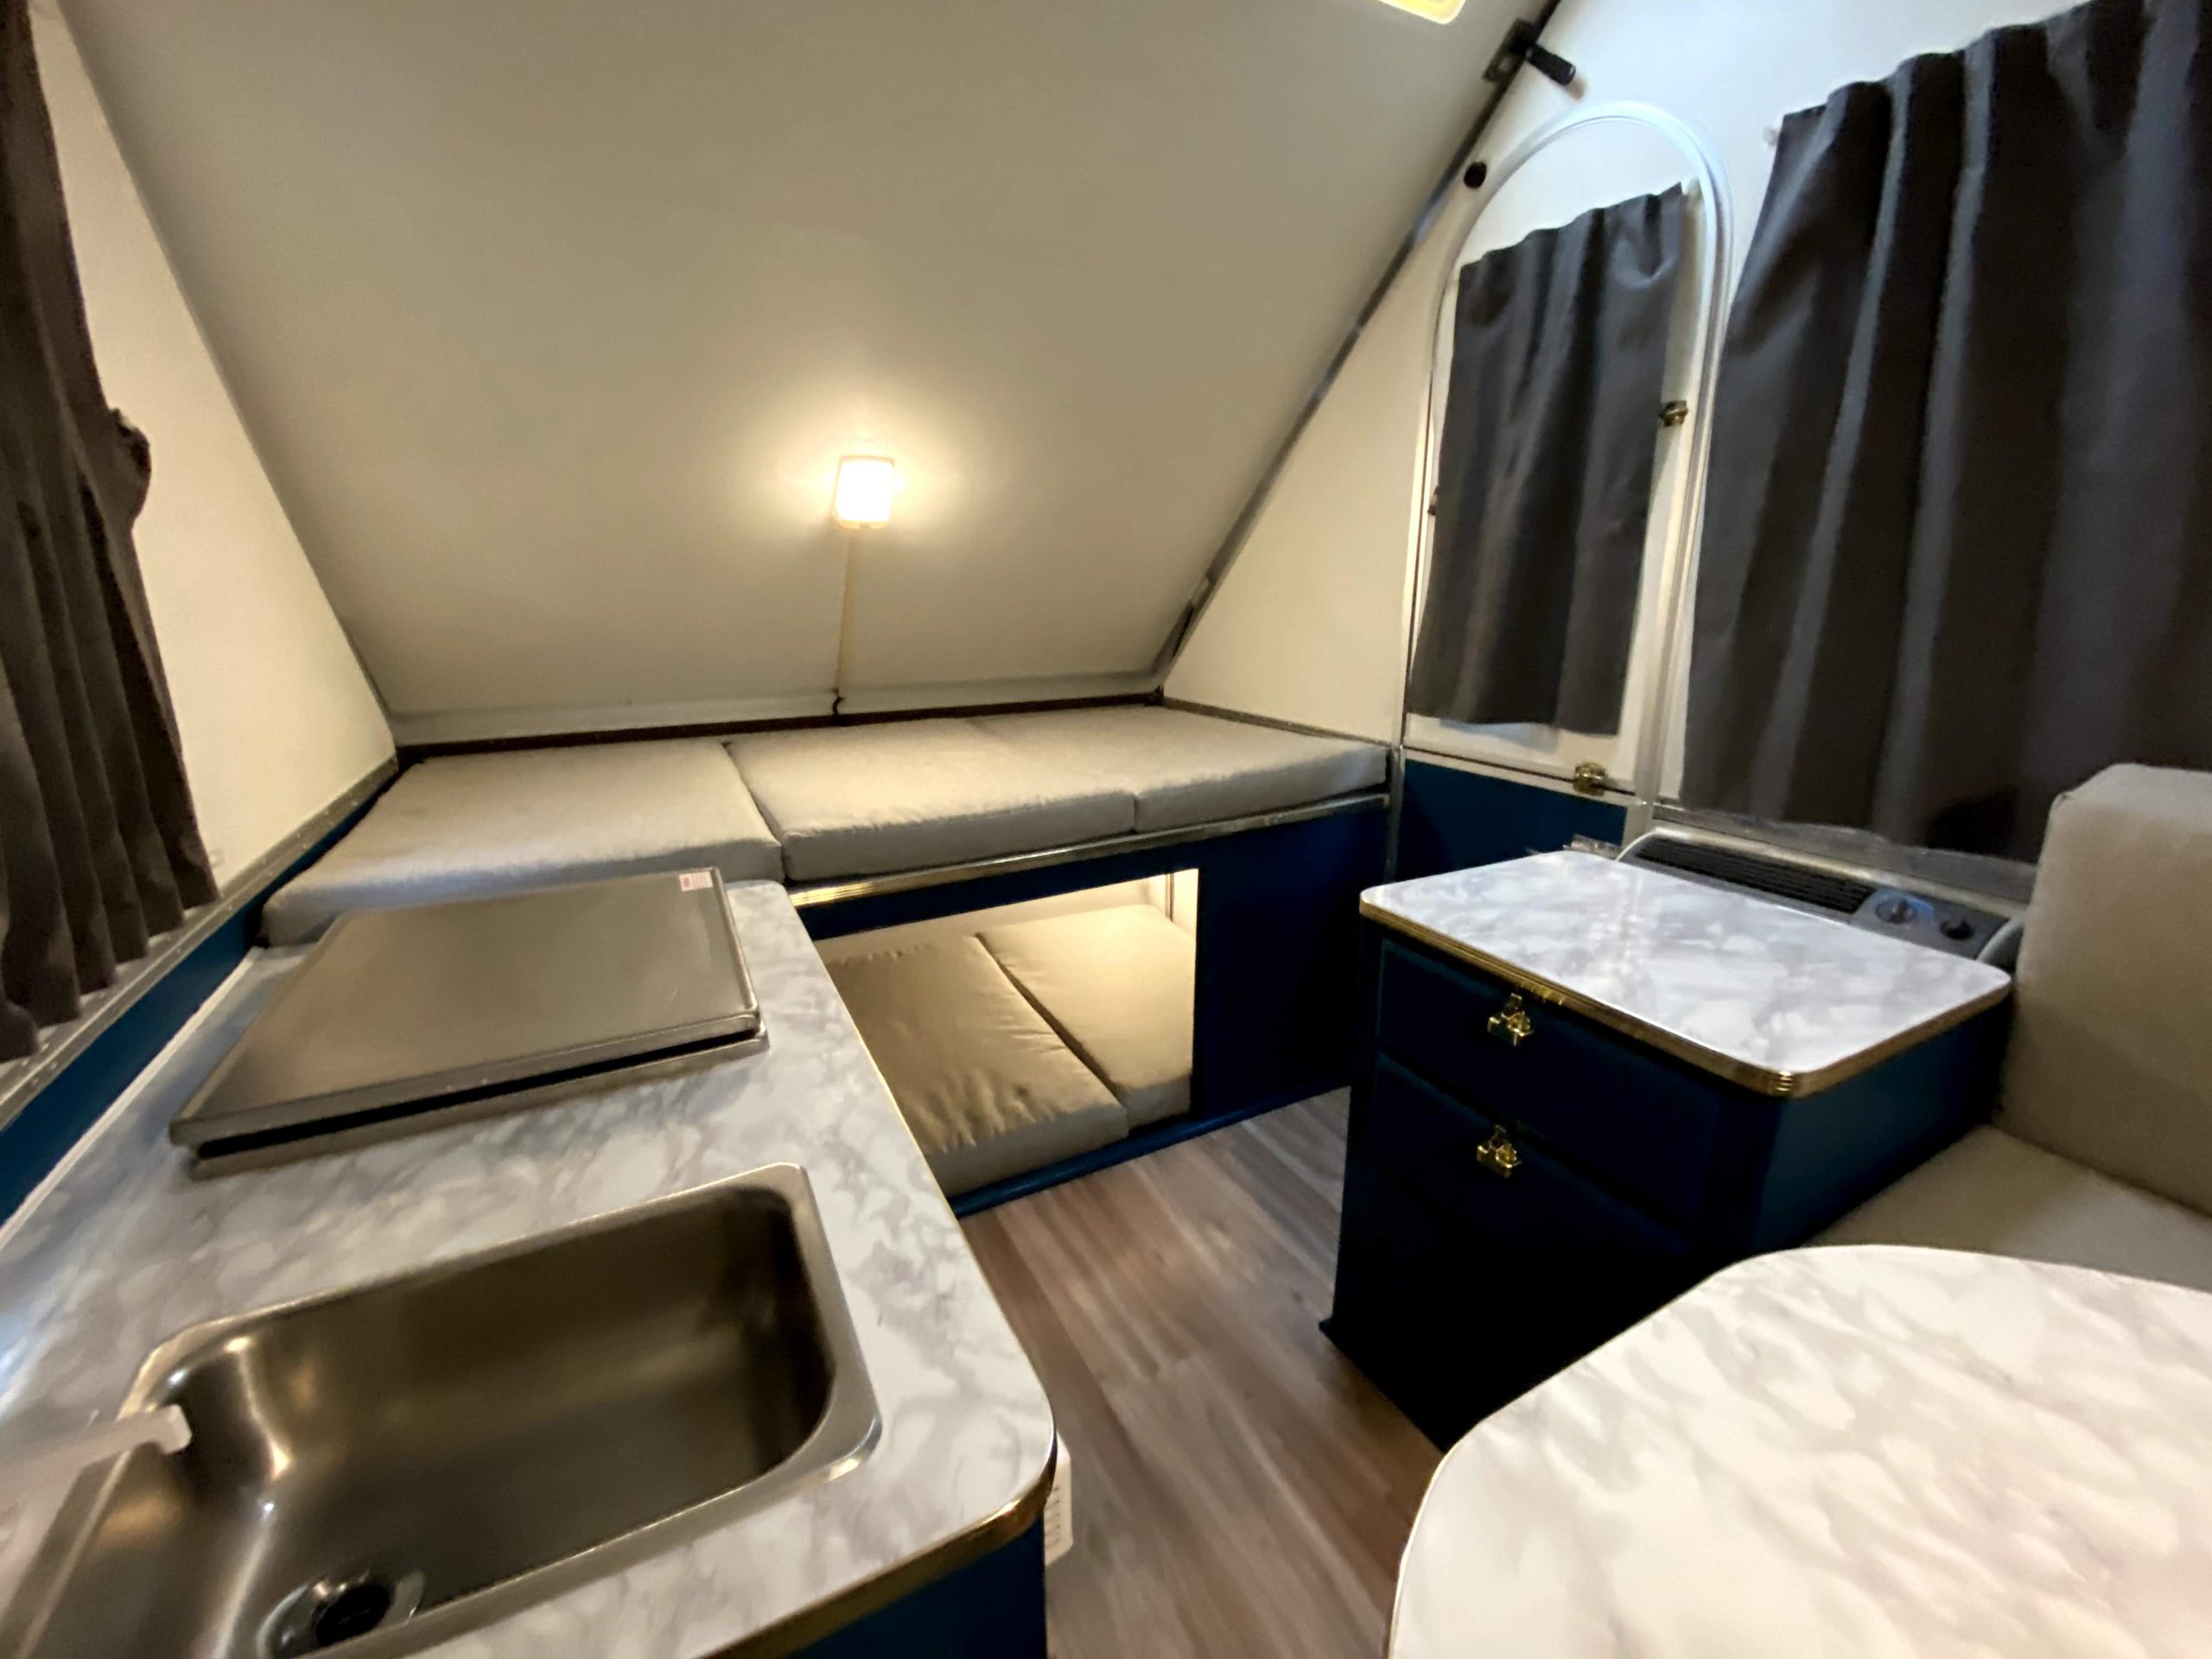
View from the dinette 

Dinette 
Bed Down 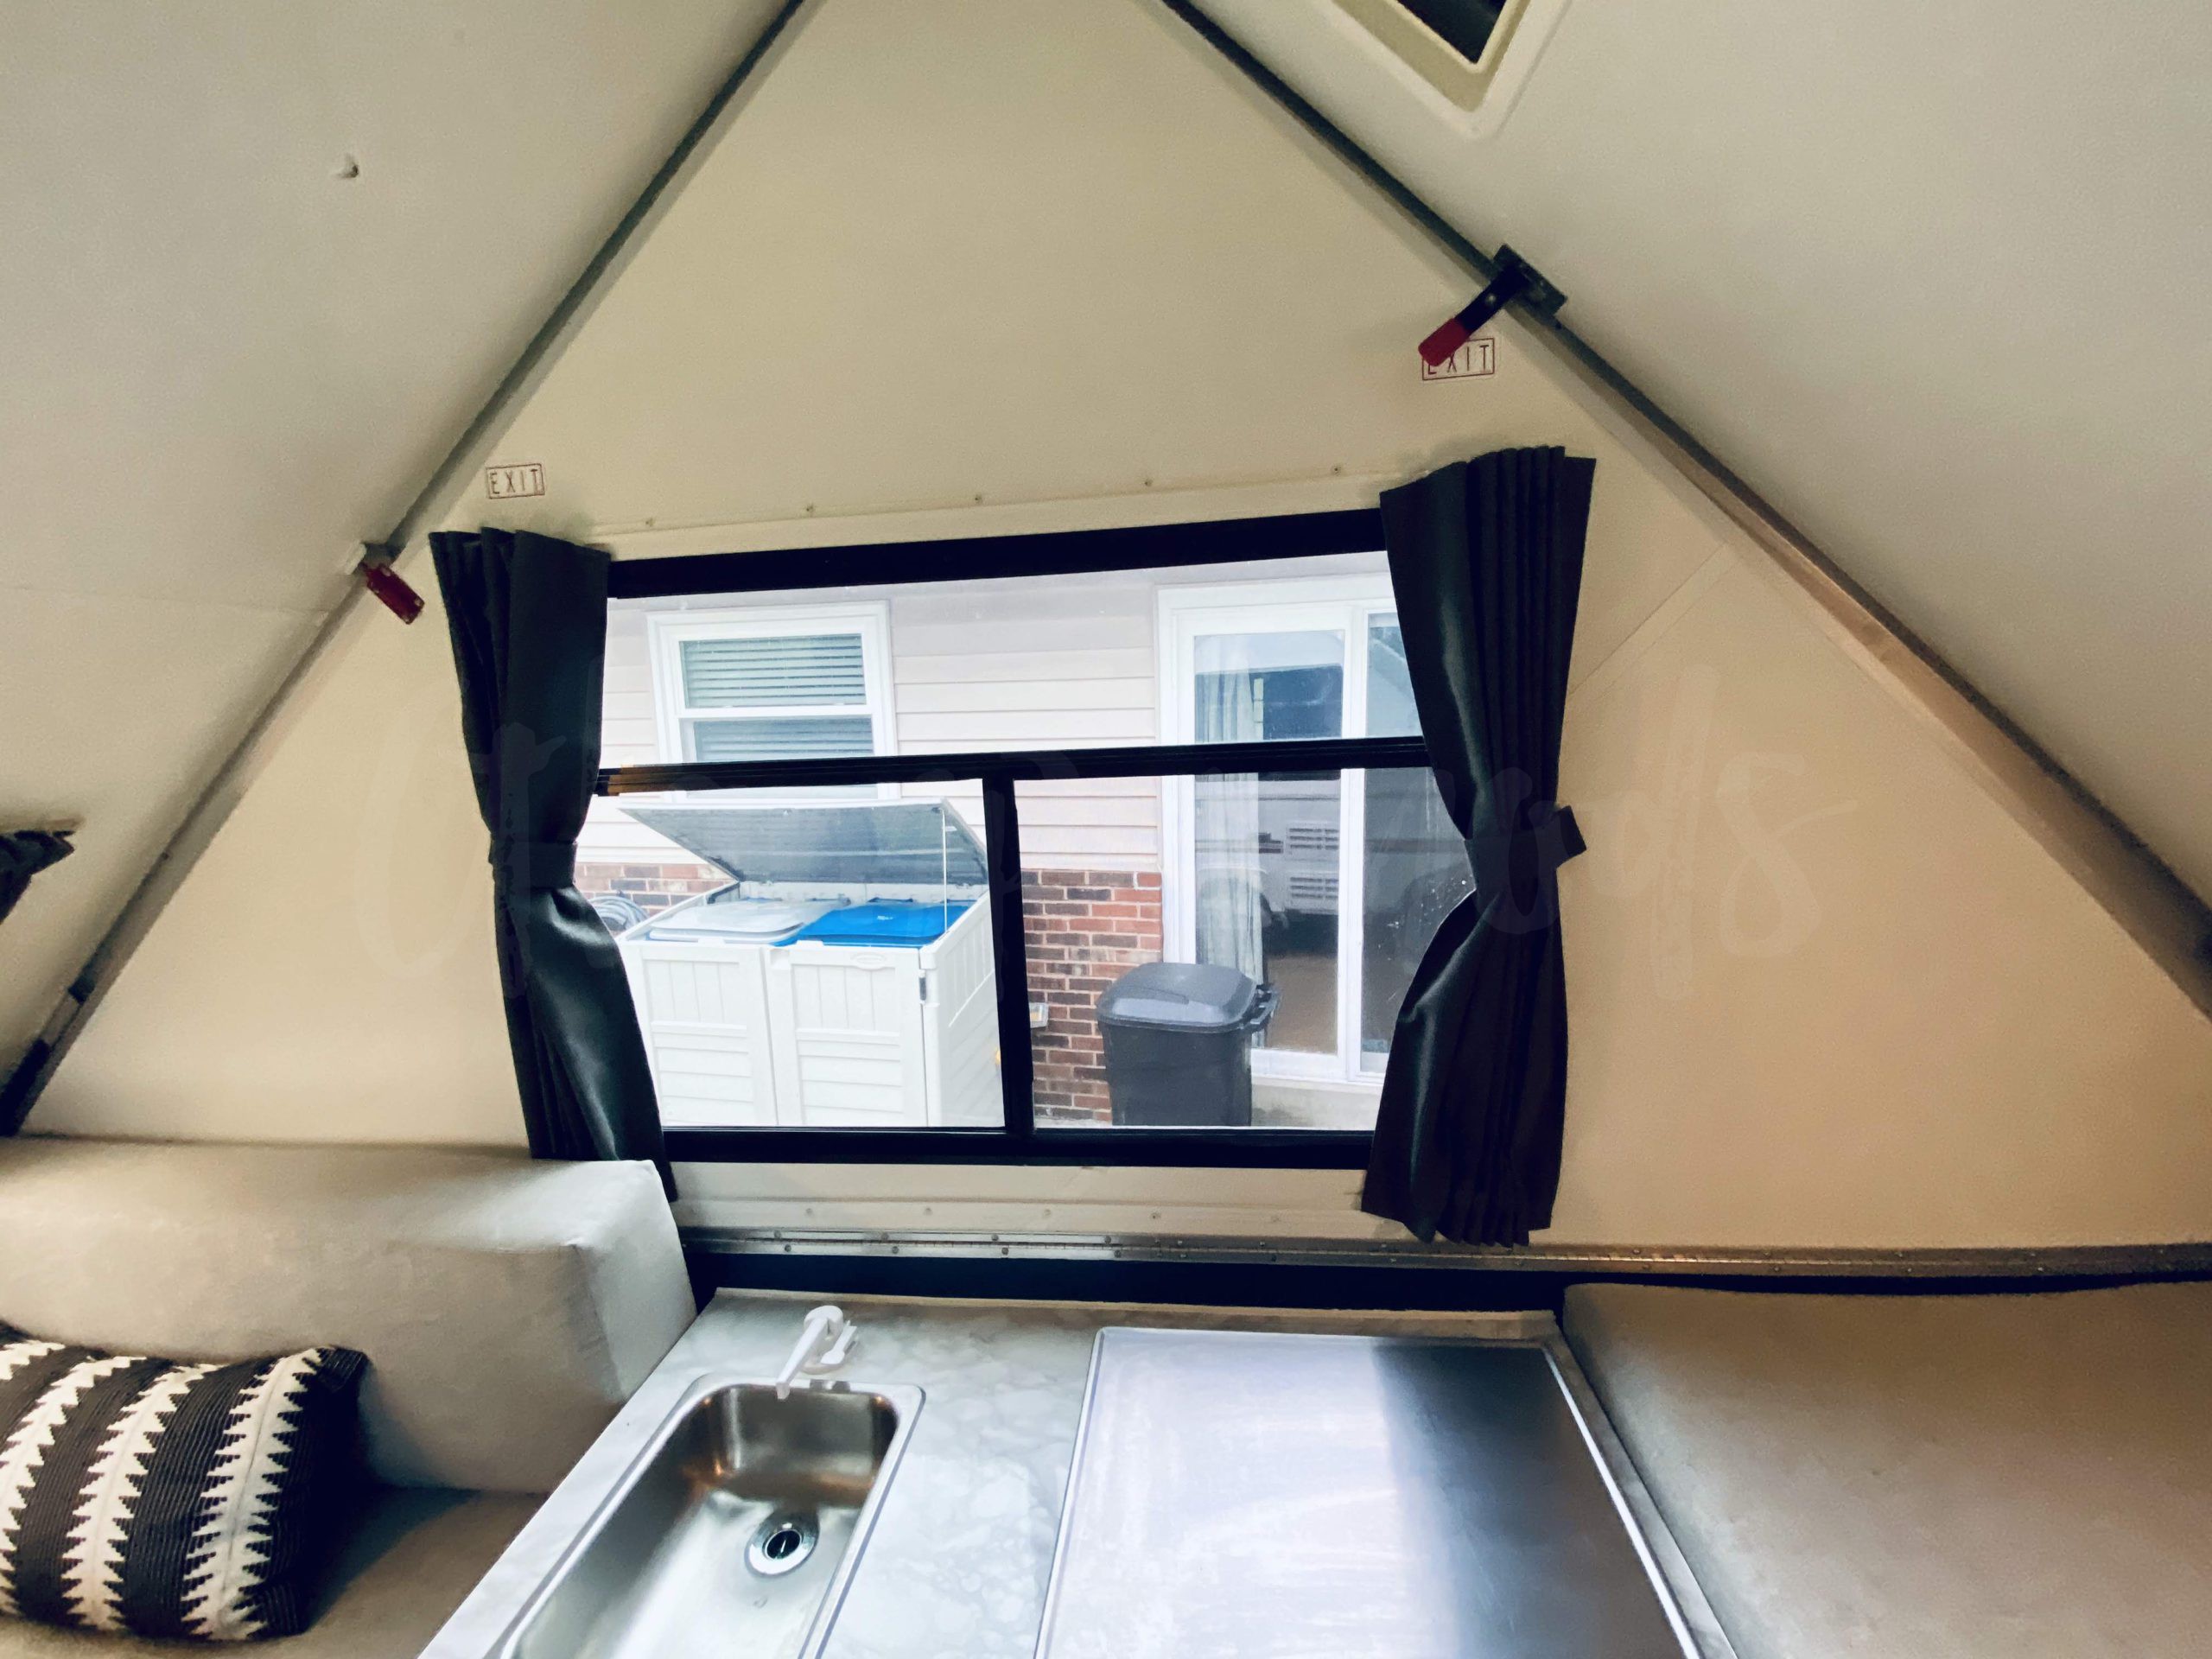

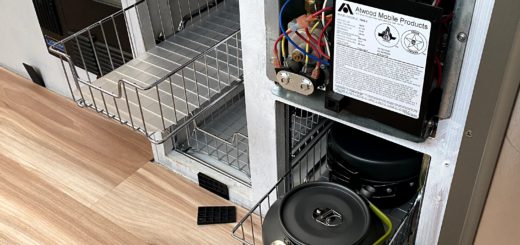
Kitchen Cabinet closed 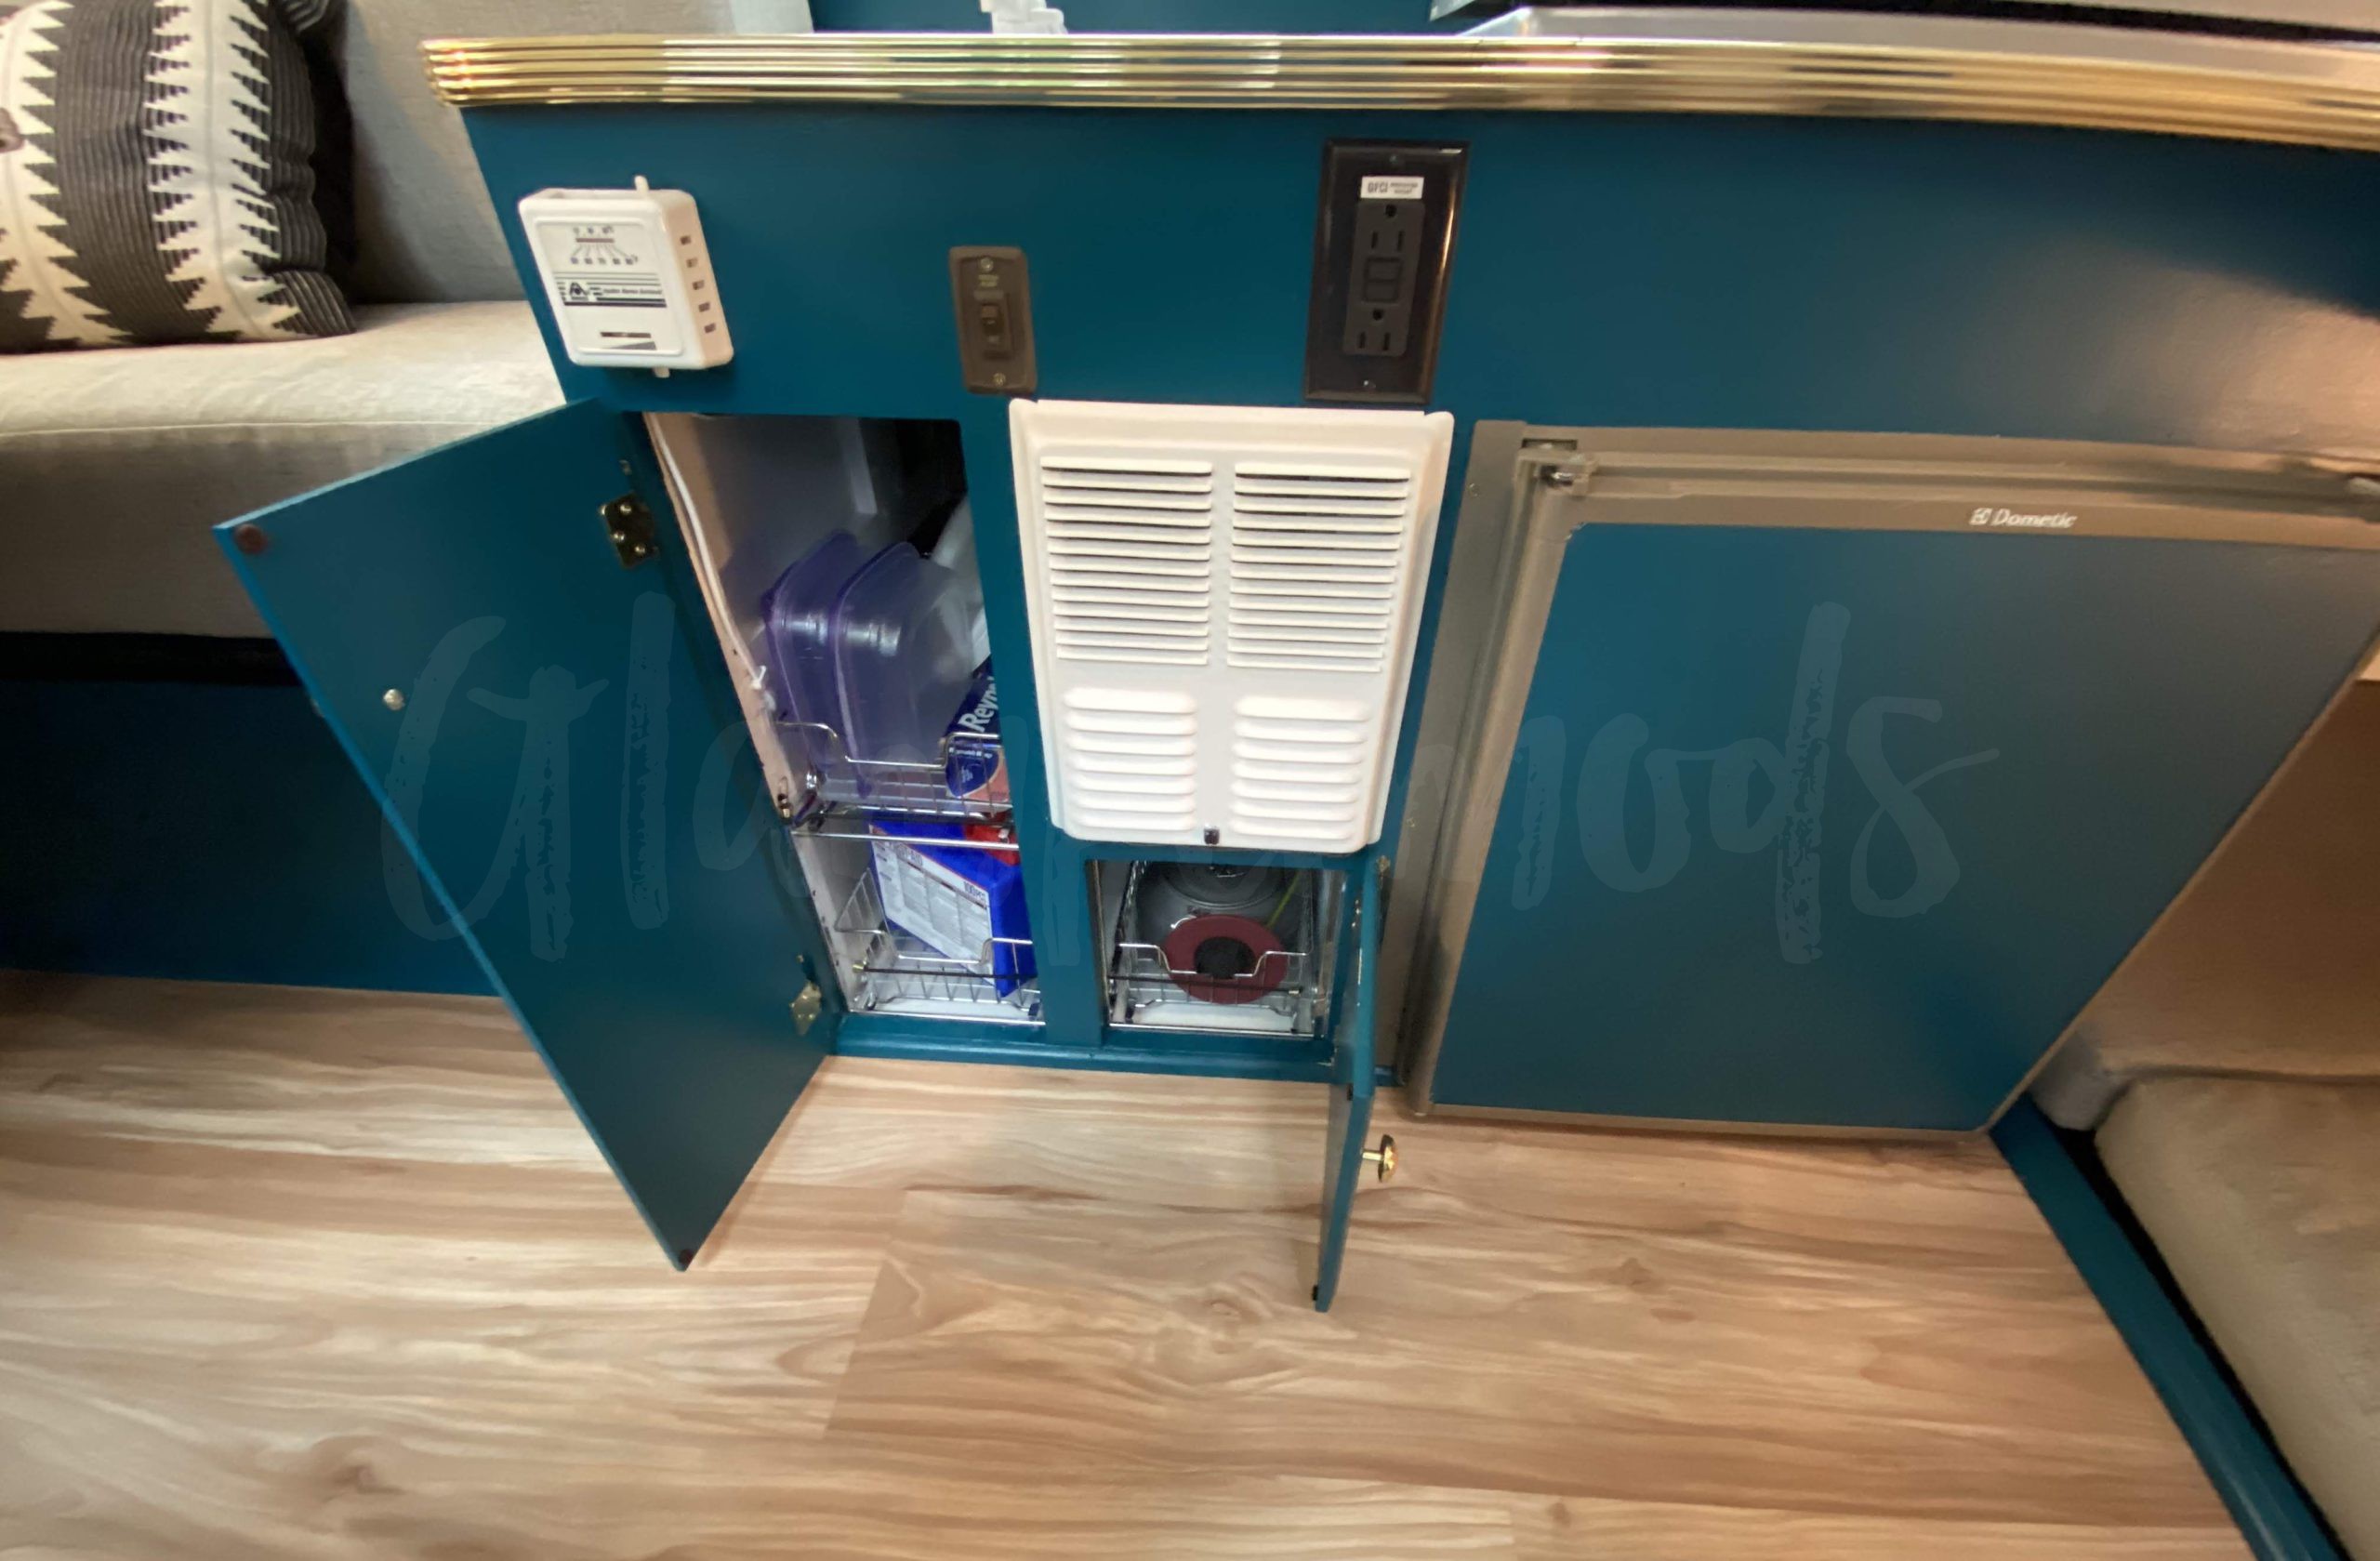
Kitchen cabinet Open 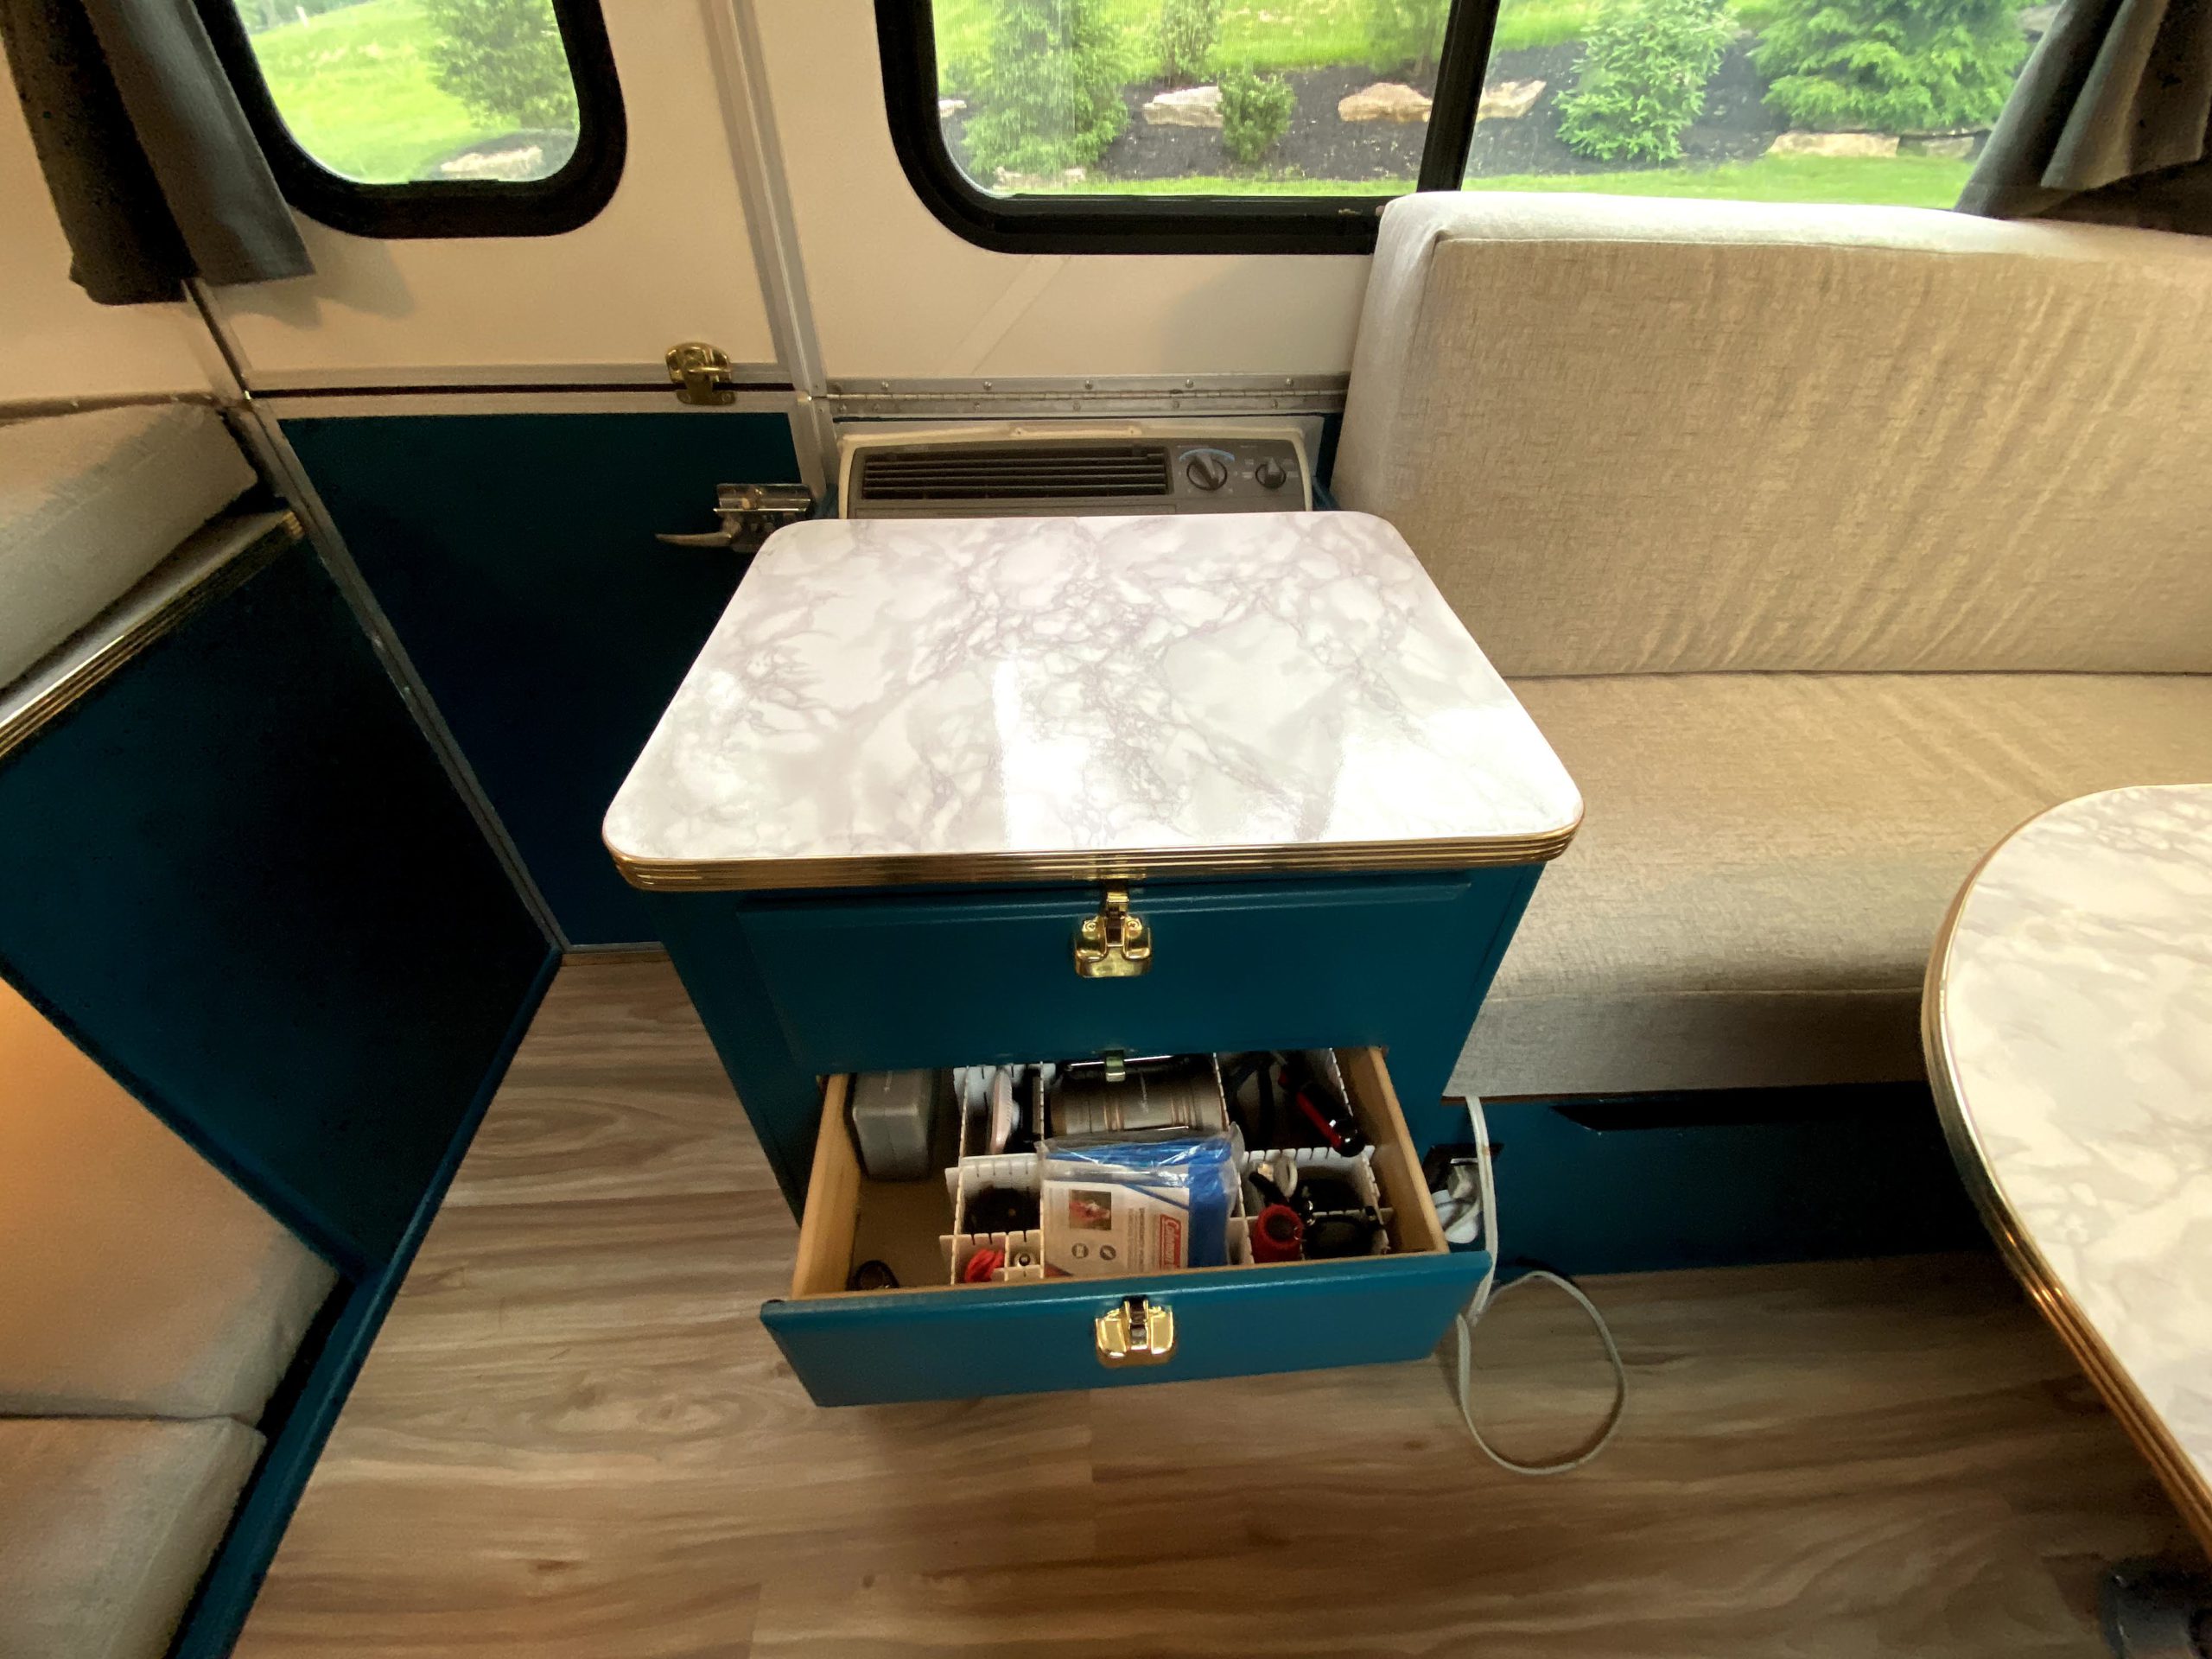
Storage Drawer 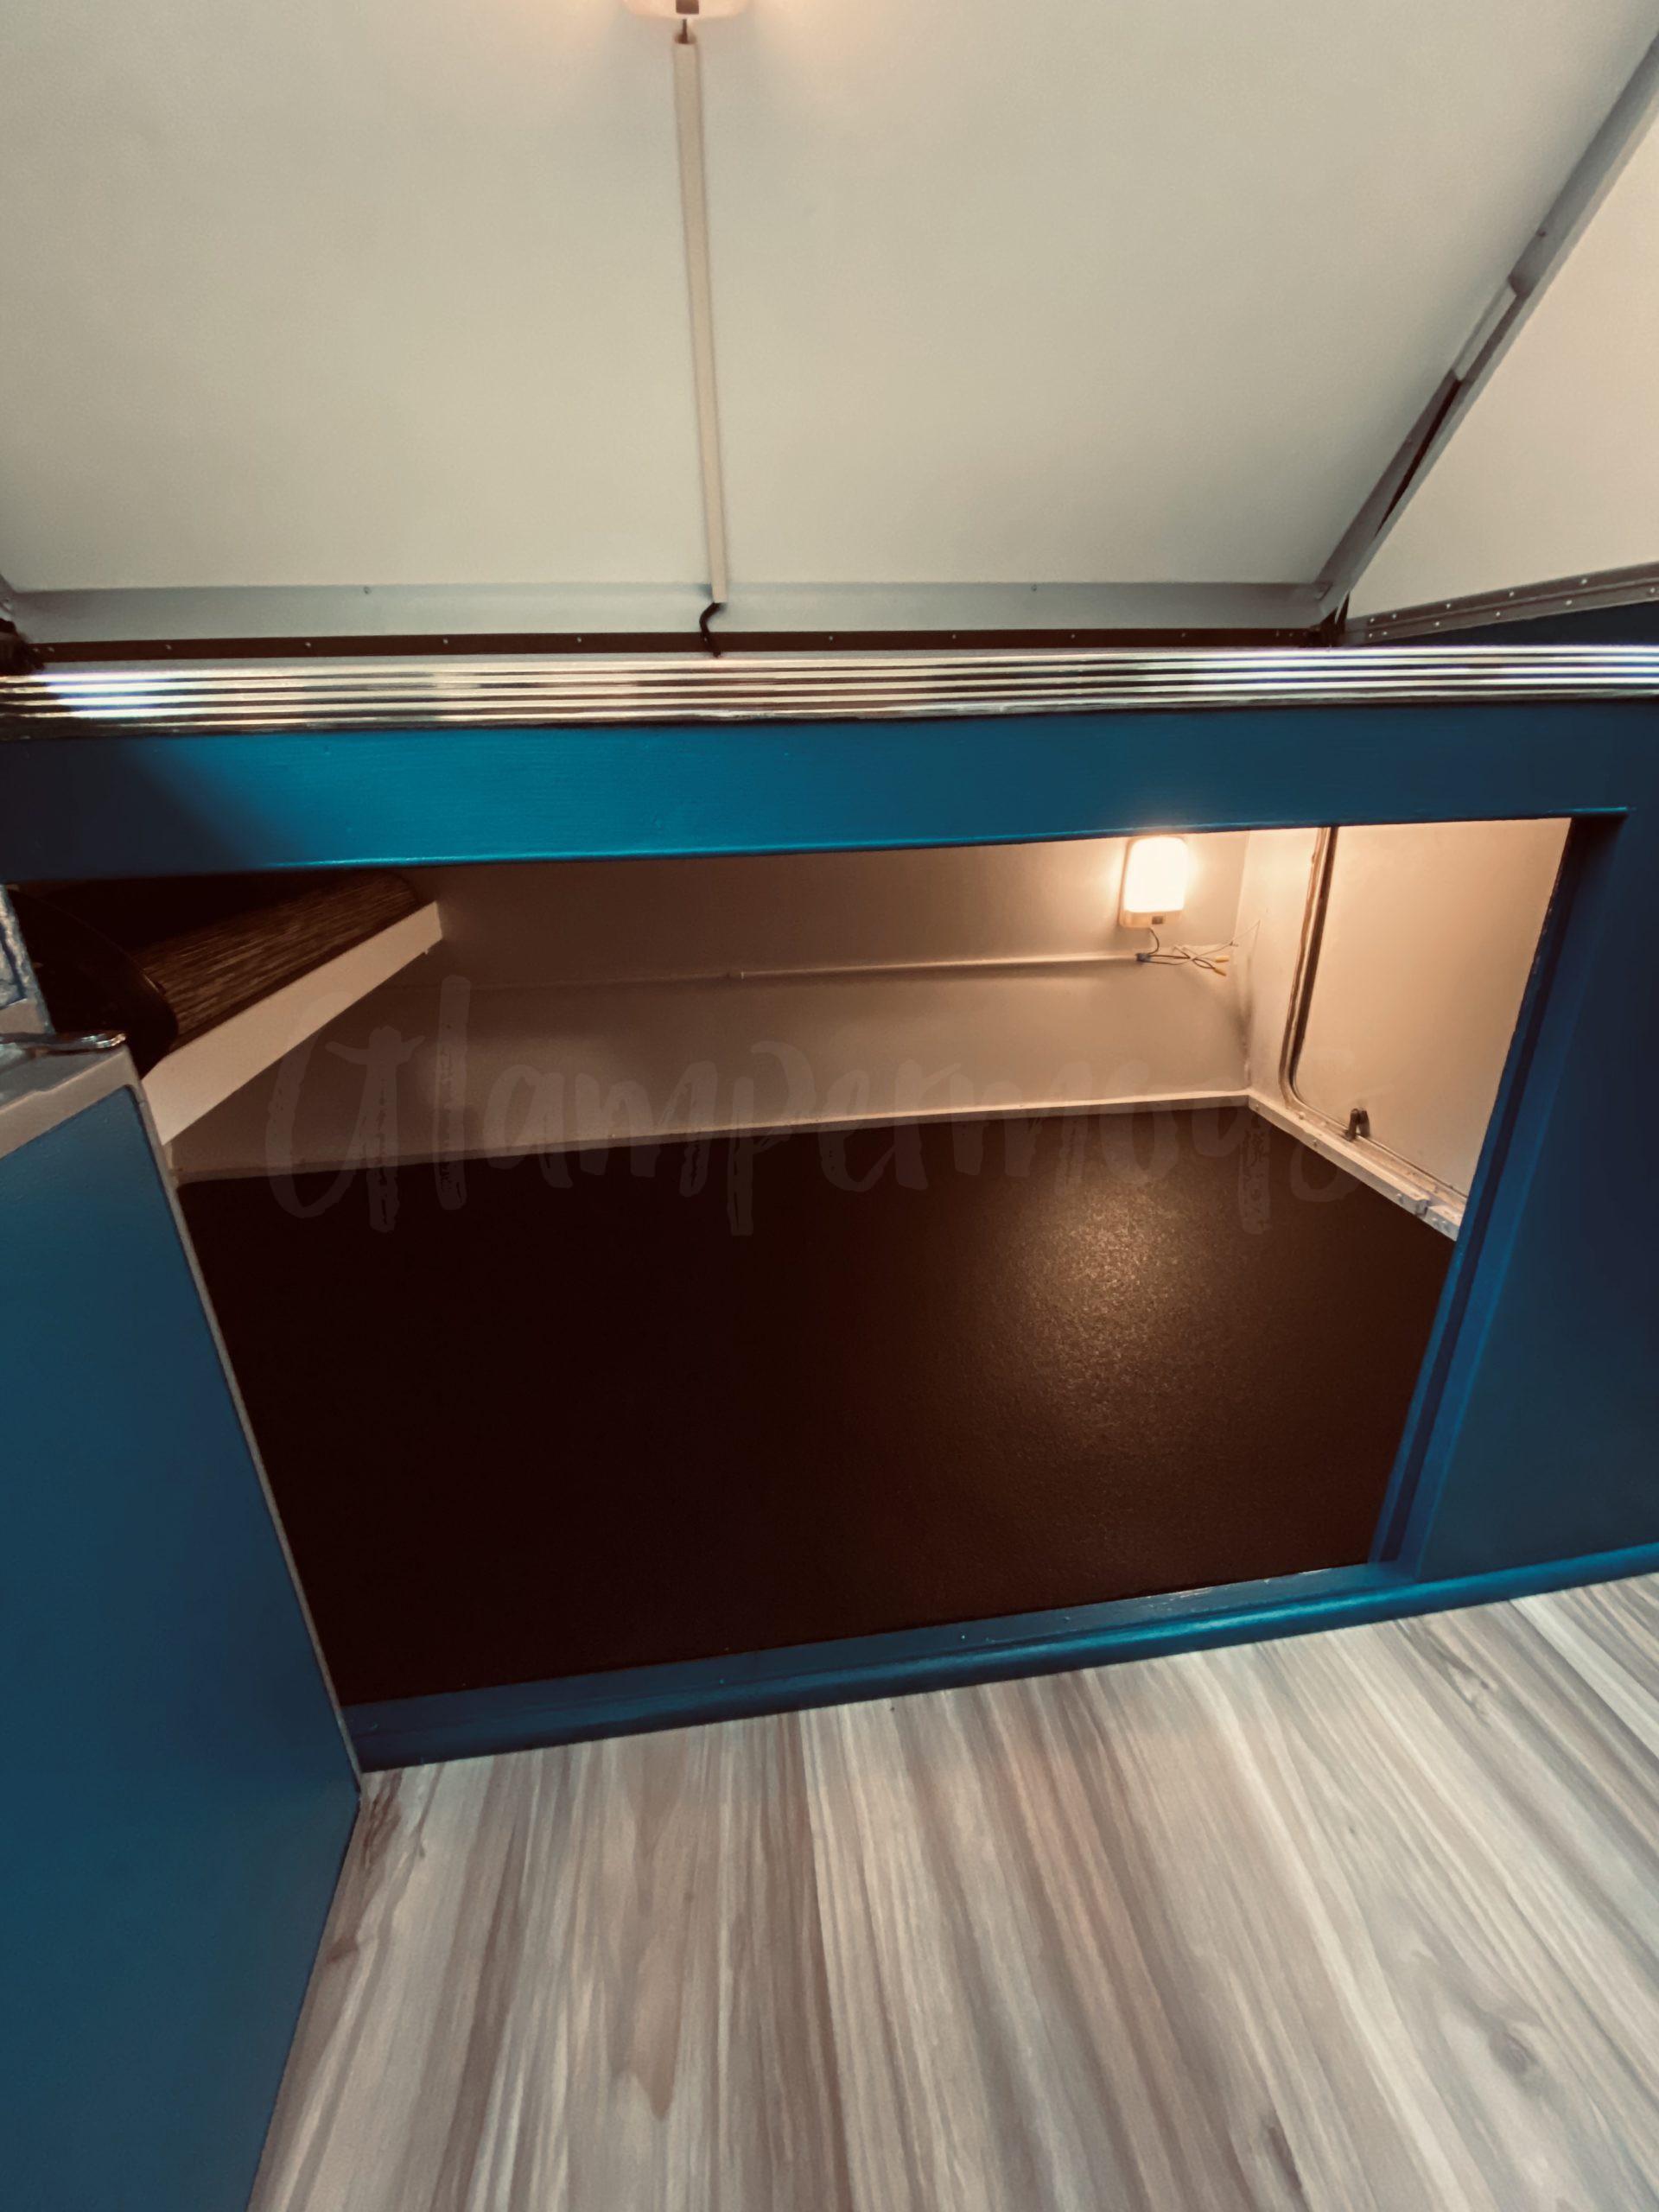
Bunk without cusions 
The view from the bottom bunk/storage area 
Bottom Bunk without cushions
Recent Comments